


 2022-07-22
in
2022-07-22
in

 5 min read
I traditionally live most of my life in virtual machines, both in the cloud and on my desktop. It allows for proper sandboxing of development environments, customer projects, apps, etc. Whenever I can I try to stay within just using them. In the past I’ve relied on VirtualBox for that, since it was available on Linux, Mac, and Windows host OS’s. When I switched to Apple Silicon the only viable option that “just worked” out of the box was Parallels Desktop . It comes out of the box with wizards for several Linux versions and Windows. For my new PHP development with real debugging however I needed Ubuntu 22. The version in Parallel’s wizard is Ubuntu 20. While Ubuntu does have AMD64 versions of Ubuntu Server for download, they only have Intel versions of Ubuntu Desktop. These are the steps to taking the Ubuntu Server install disk and making a fully operational desktop environment. This is the first part of my Debugging PHP and Friendica Series .
Downloading the ISO
Download the ARM64 ISO of Ubuntu Server from the download page
Creating the Virtual Machine
Create a new VM by clicking on the File->New menu option or the + icon on the main Control Window
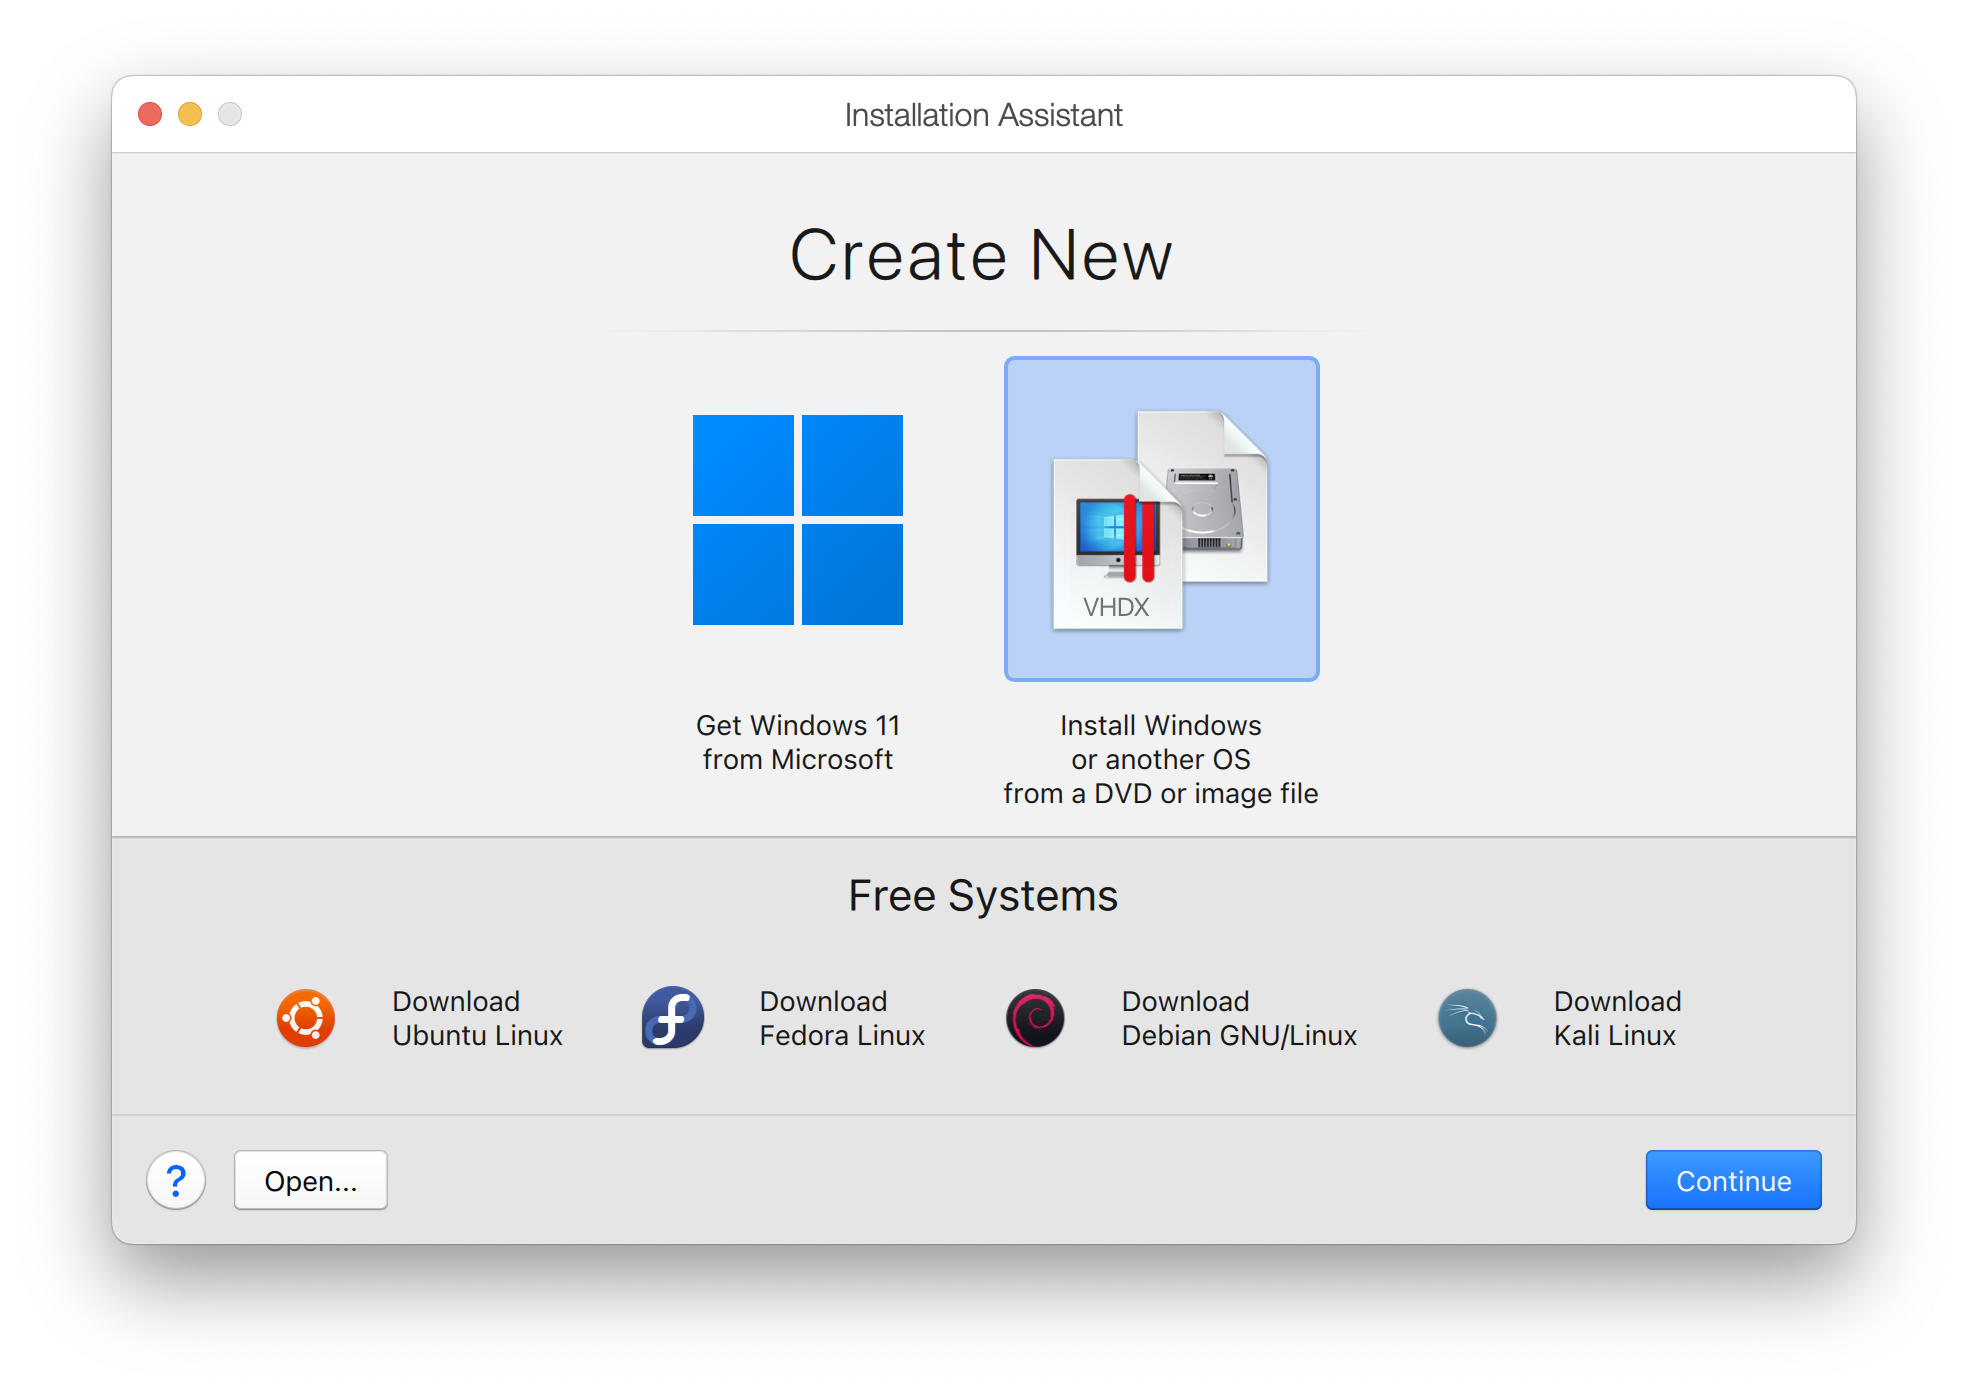
After the initial warning screen about using Parallels under Apple Silicon you are selected with the option of choosing one of the standard machine images or manually making one from a DVD ISO. You want to choose the manual option. Then hit the “Continue” button.
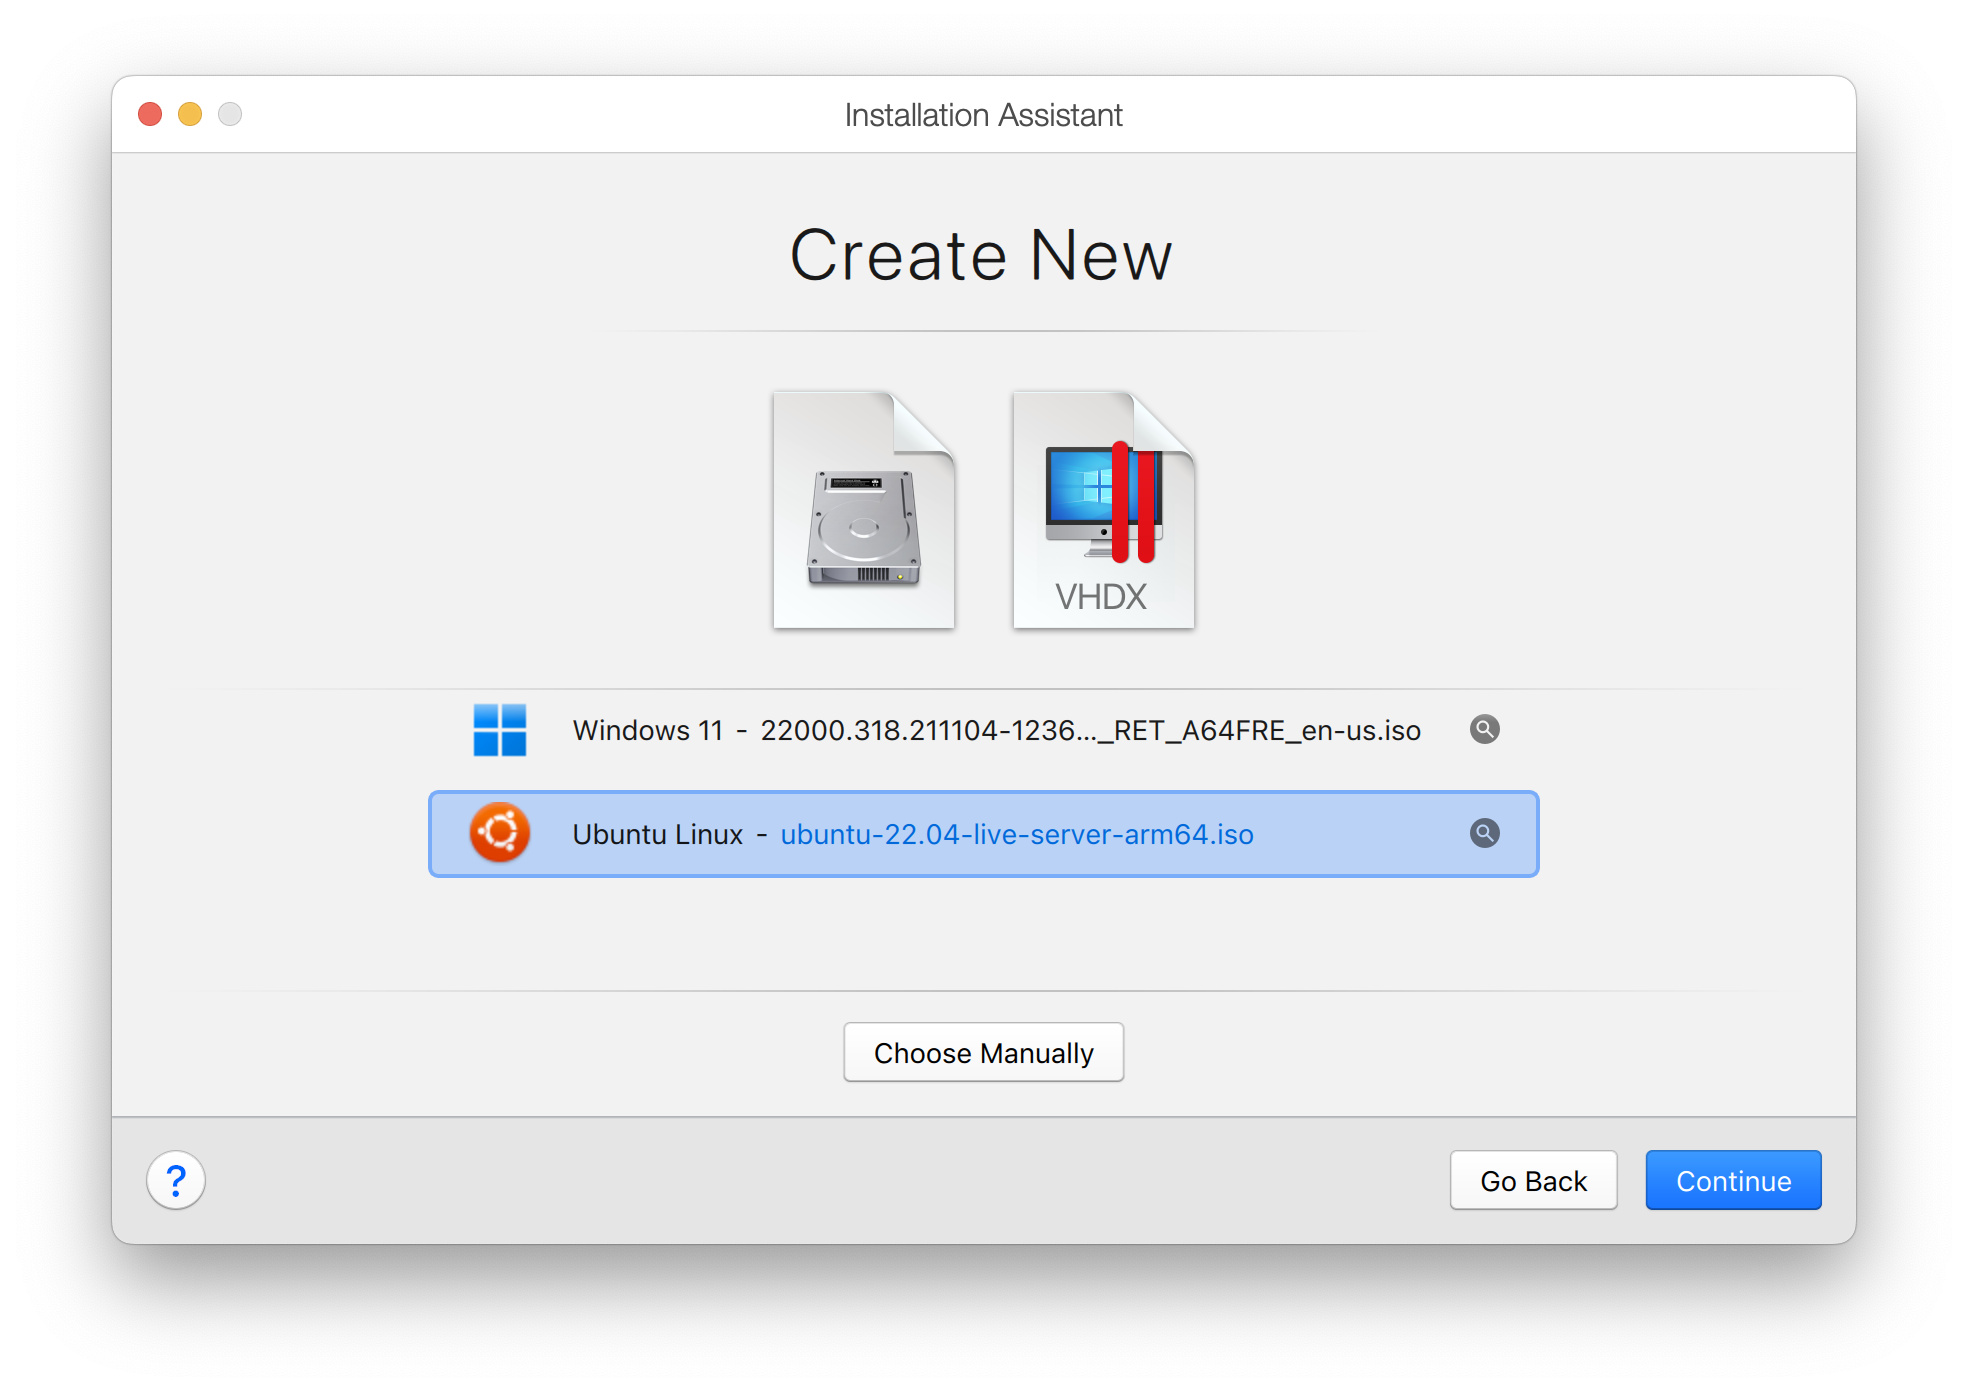
You will then be presented with a series of disk images on your local machine. The “Downloads” folder is one of the standard paths that it looks for these images. Your recently downloaded ARM64 Ubuntu Server ISO should be listed there. If not you can manually go find it by selecting the respective button. With the ISO selected hit the “Continue” button.
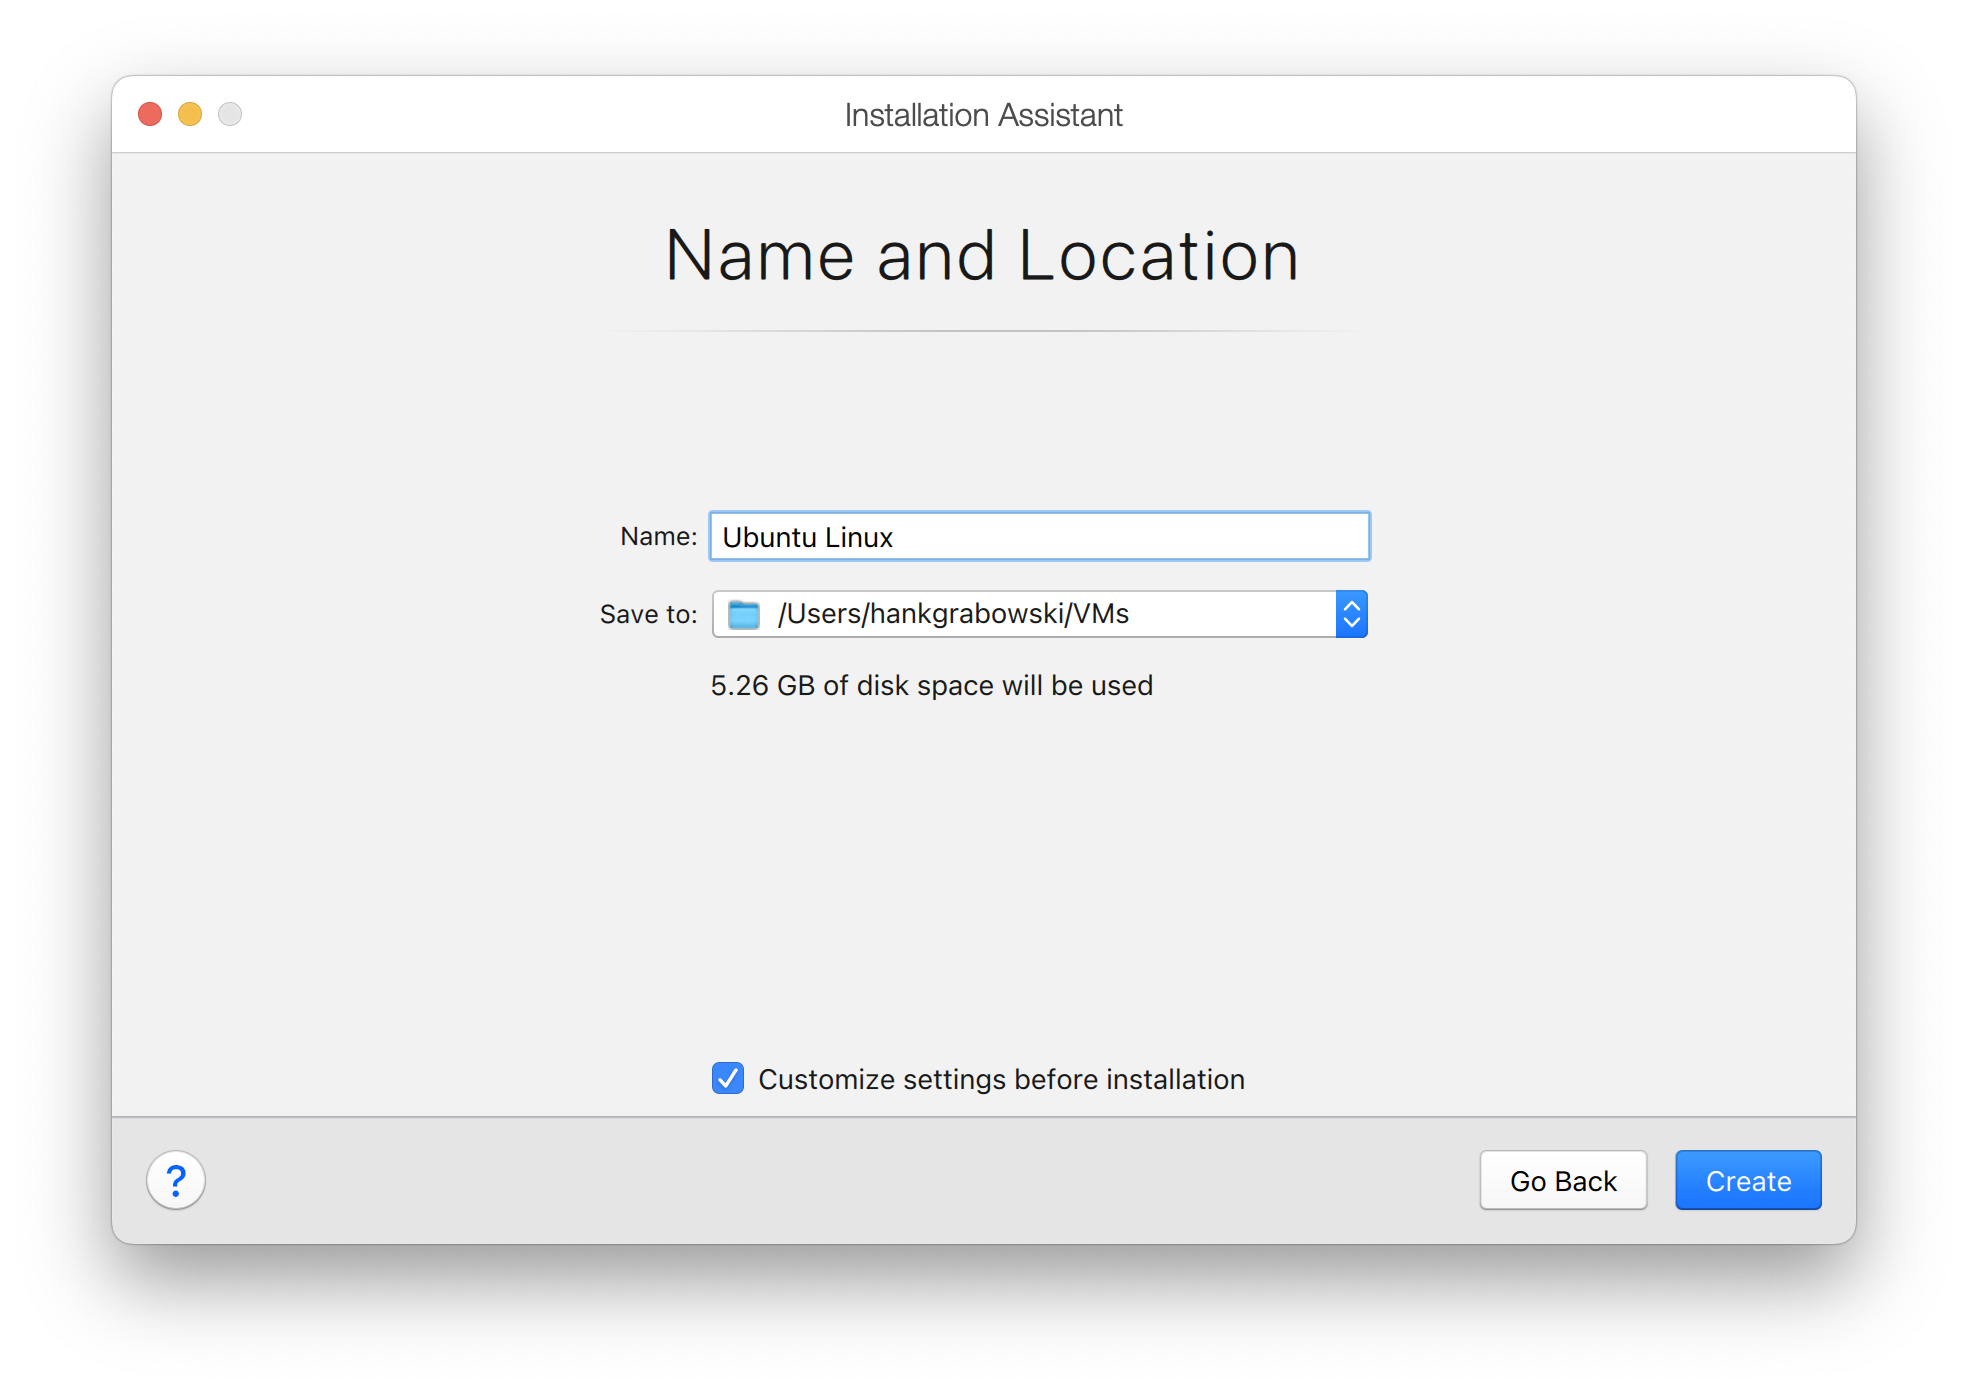
You now can select the location where your VM will reside and name the VM. The default VM memory size is 2 GB. For many applications this will not be big enough. Therefore select the “Custom Settings…” checkbox before hitting “Continue”.
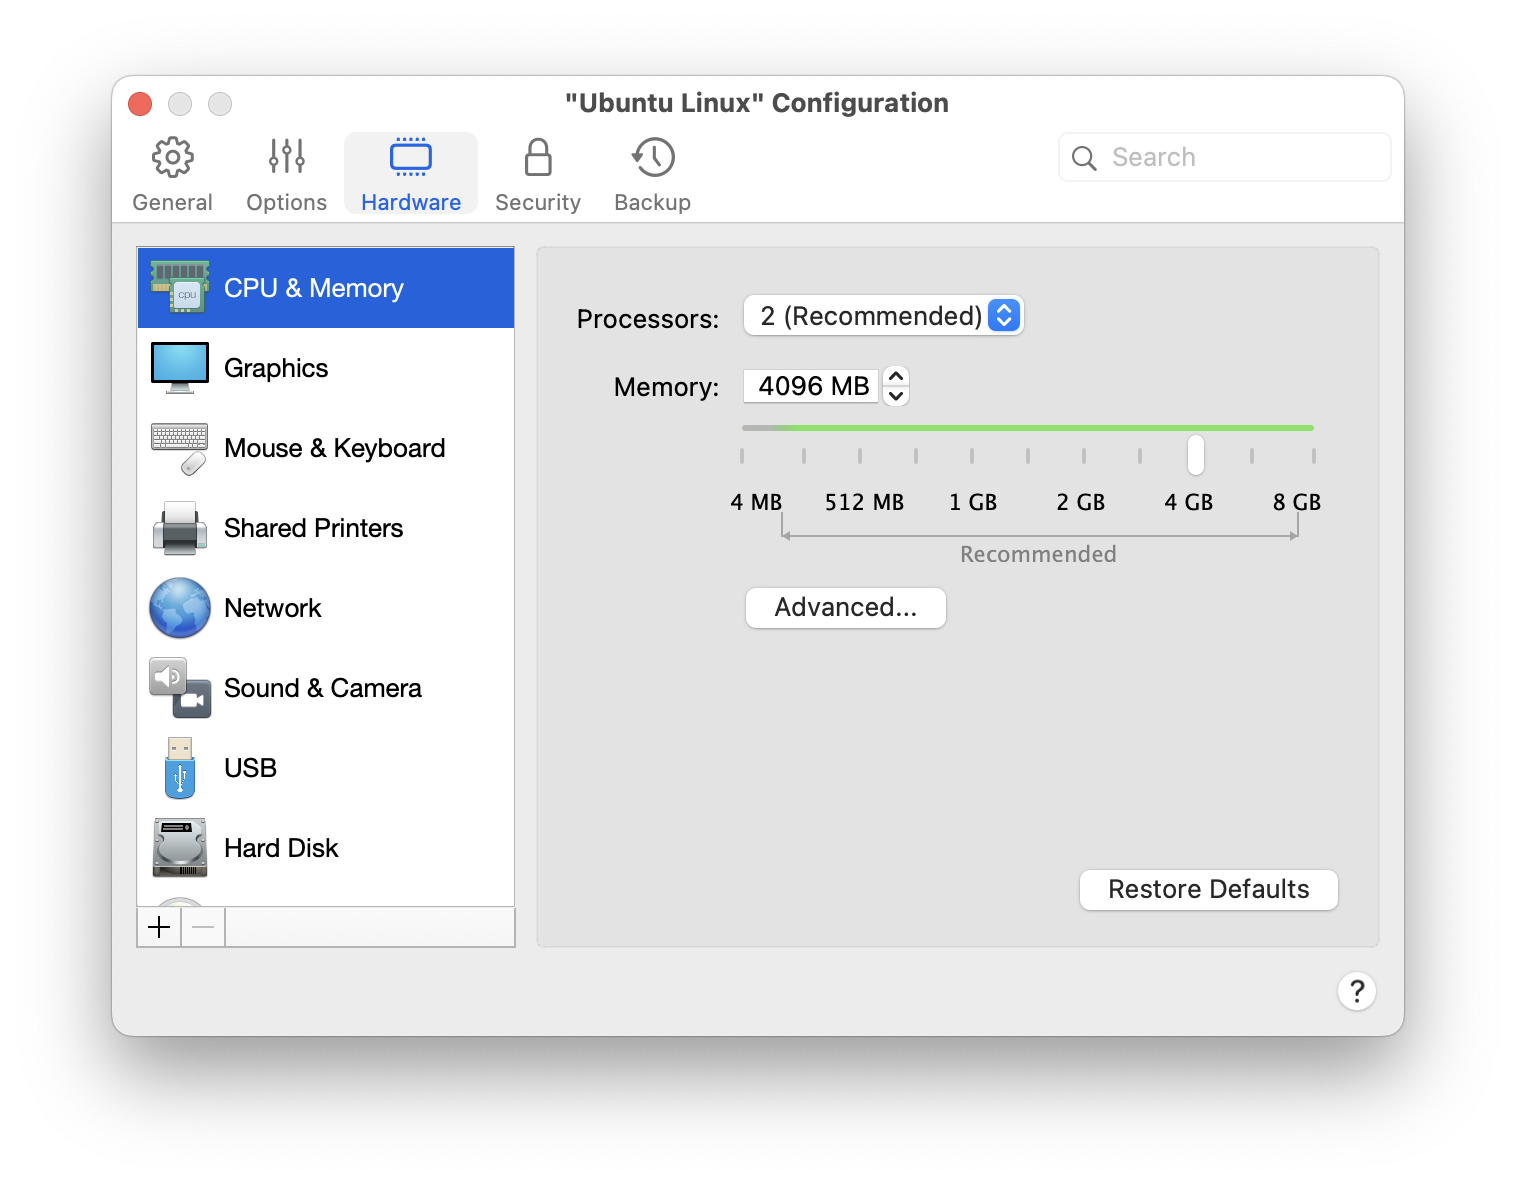
With the properties up you can change the number of CPUs, change the default disk size (64GB but not pre-allocated), add shared folders, etc. Most of these options are best at their defaults unless you know what you are doing. I simply increase the memory in this screenshot from the default 2 GB to 4 GB. Dismiss the settings with the close button for the window and you are now ready to launch the virtual machine by hitting the “Create” button.
Install Base Ubuntu Server
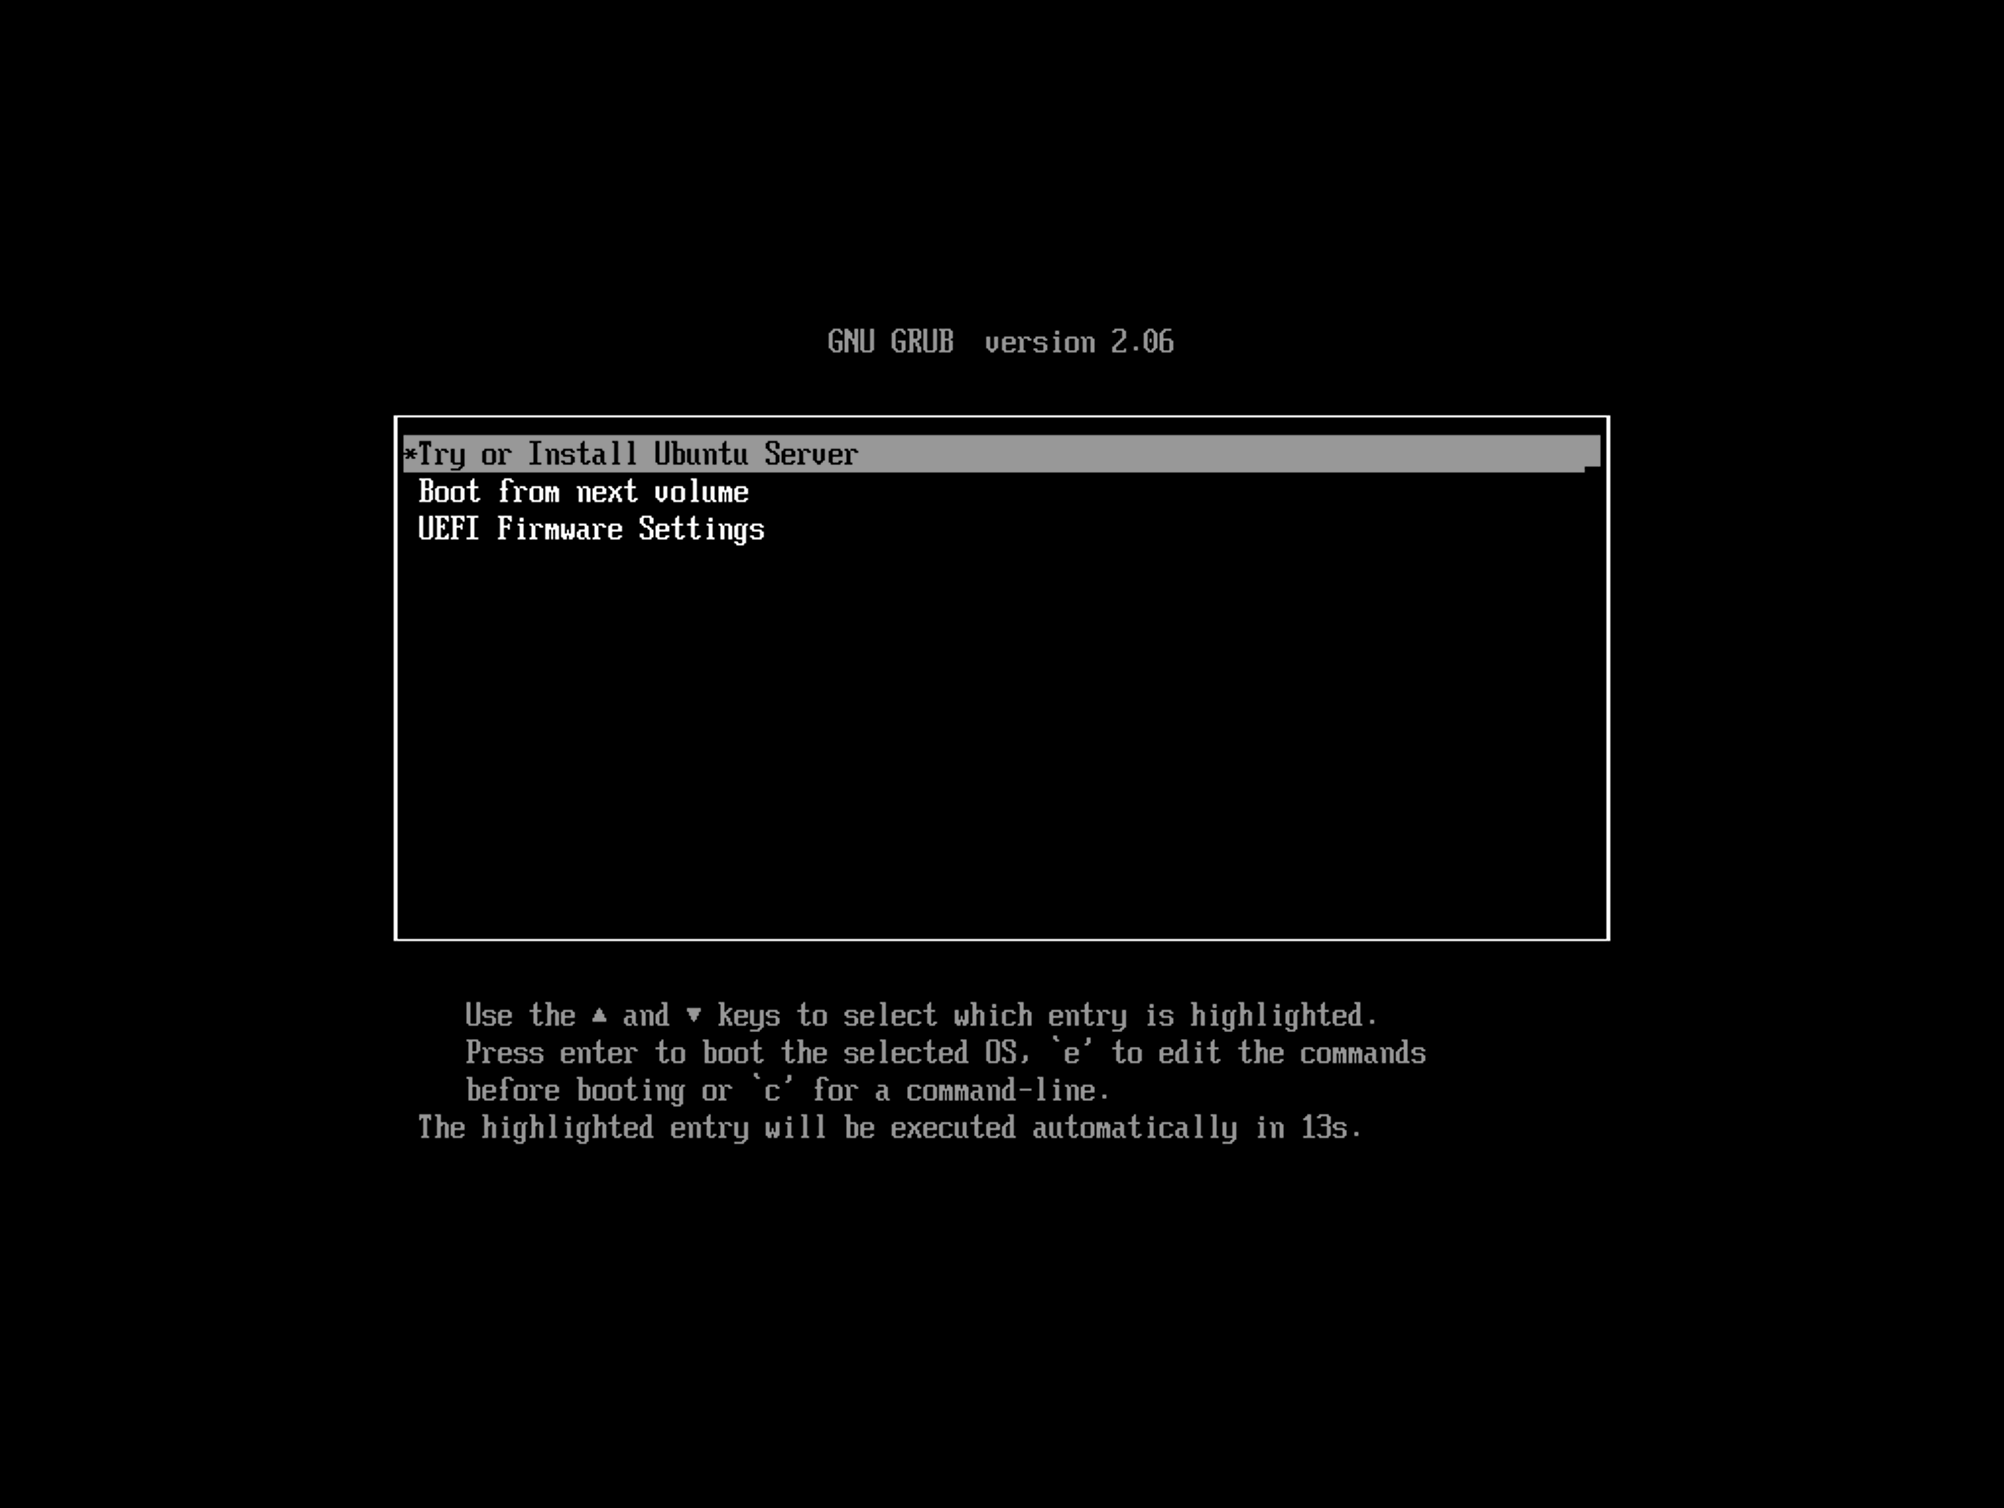
If everything is running correctly you should see a boot screen in the VM that looks like below. Select the “Try or Install Ubuntu Server” option to continue.
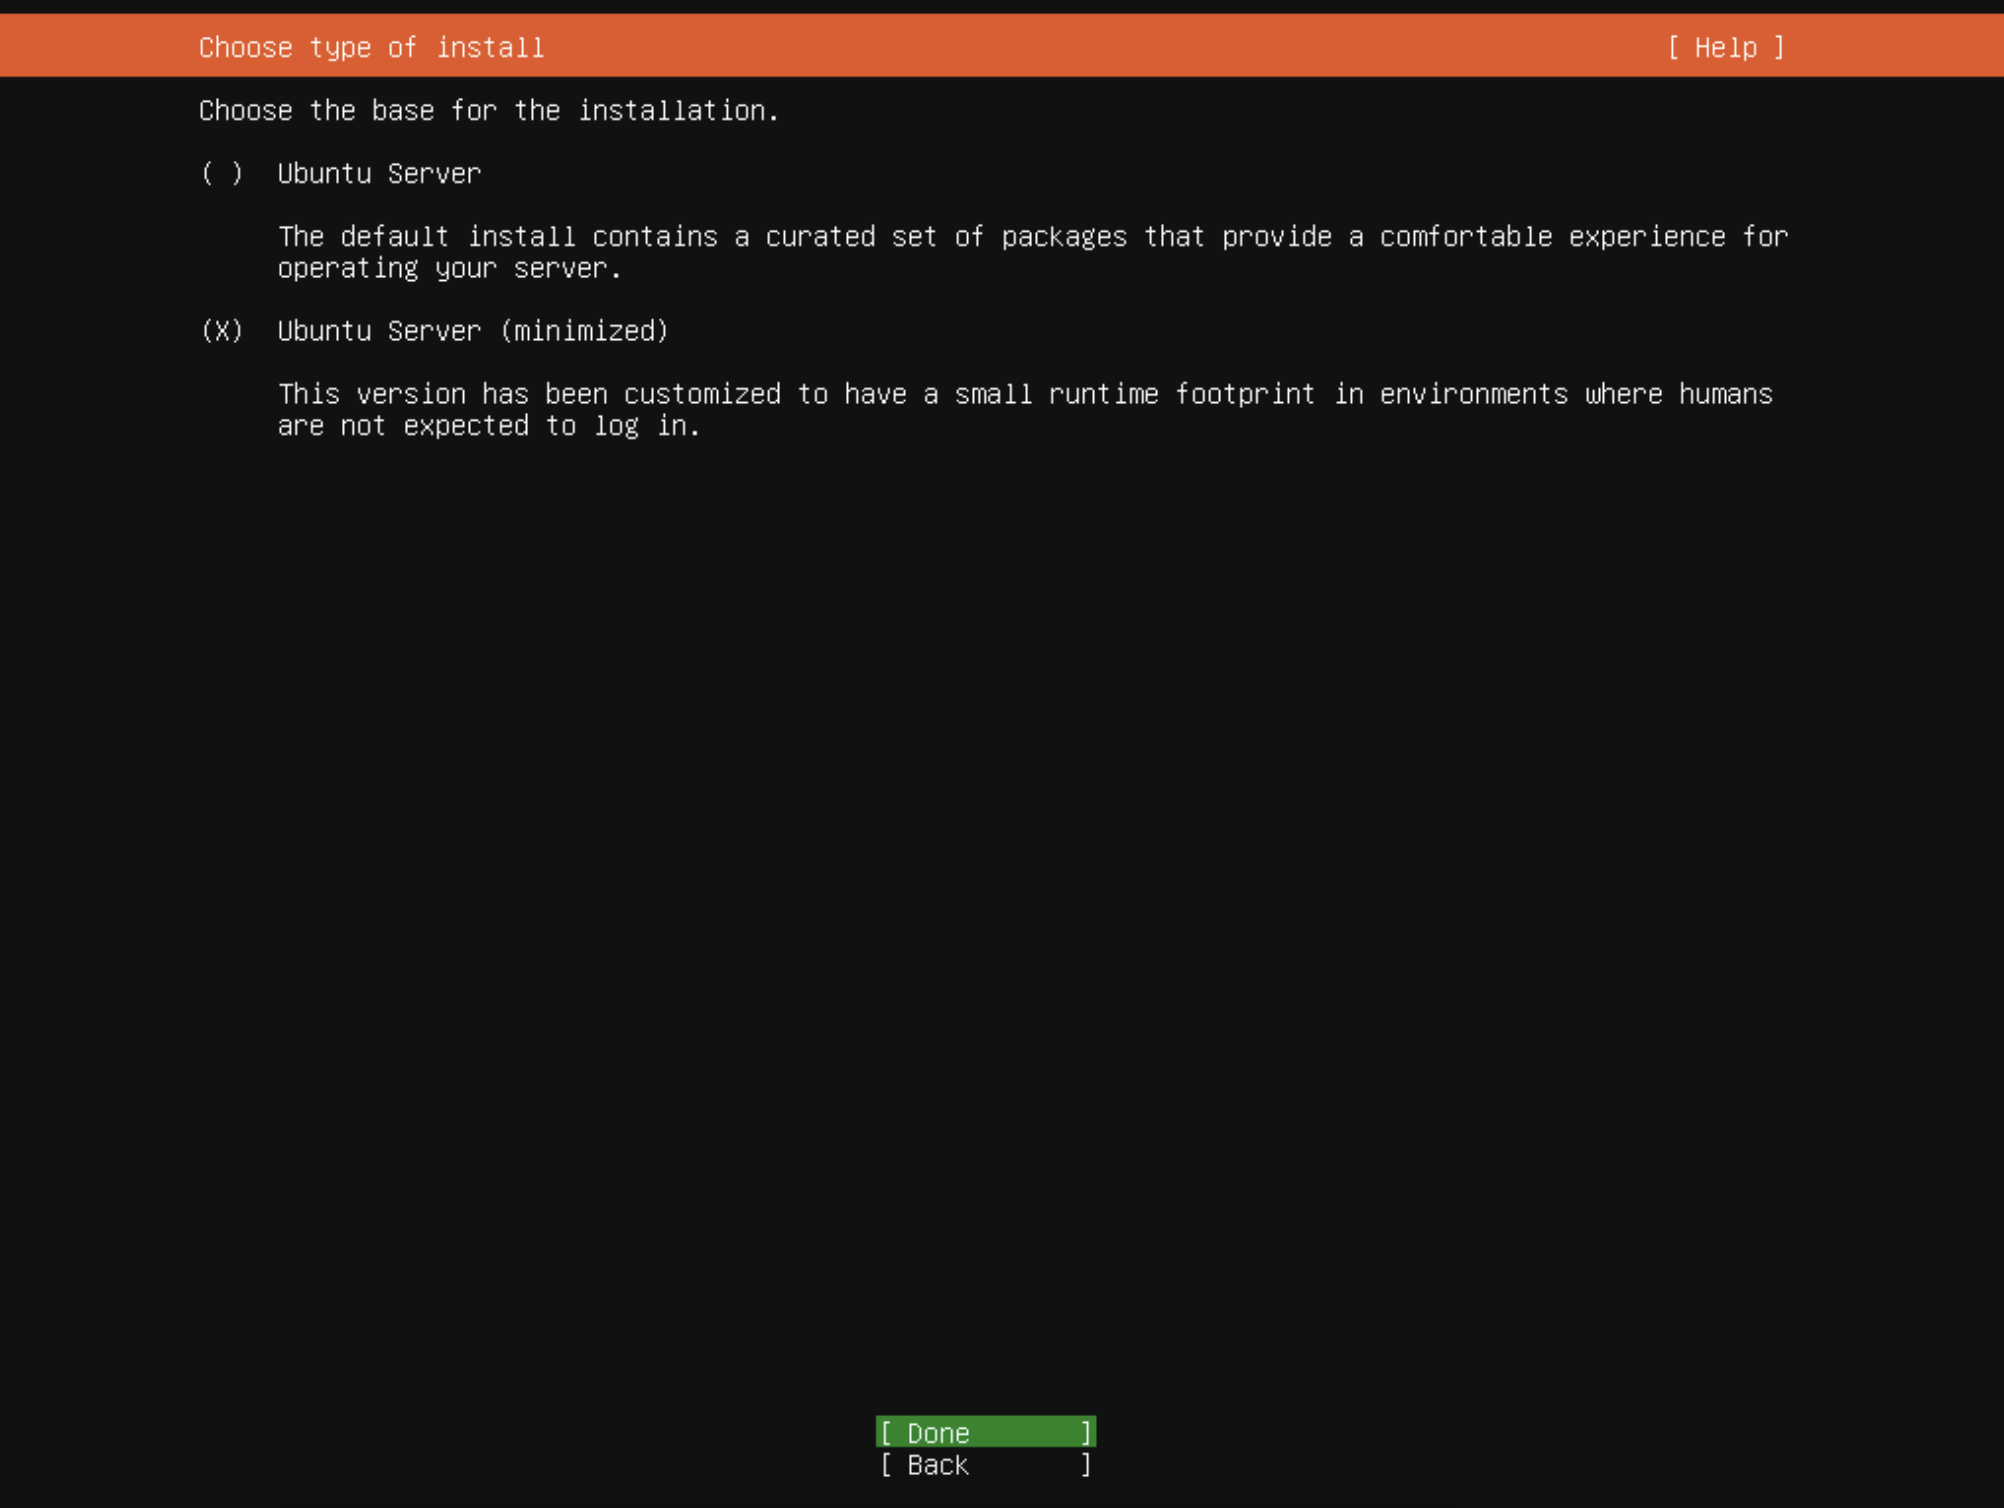
Most of the defaults of the installer will be fine. One option I check is to not run the update during the install. I’d rather do that once everything is set up. Another option I change is I run the minimal install to cut down on disk usage and default services installed. This is totally optional.
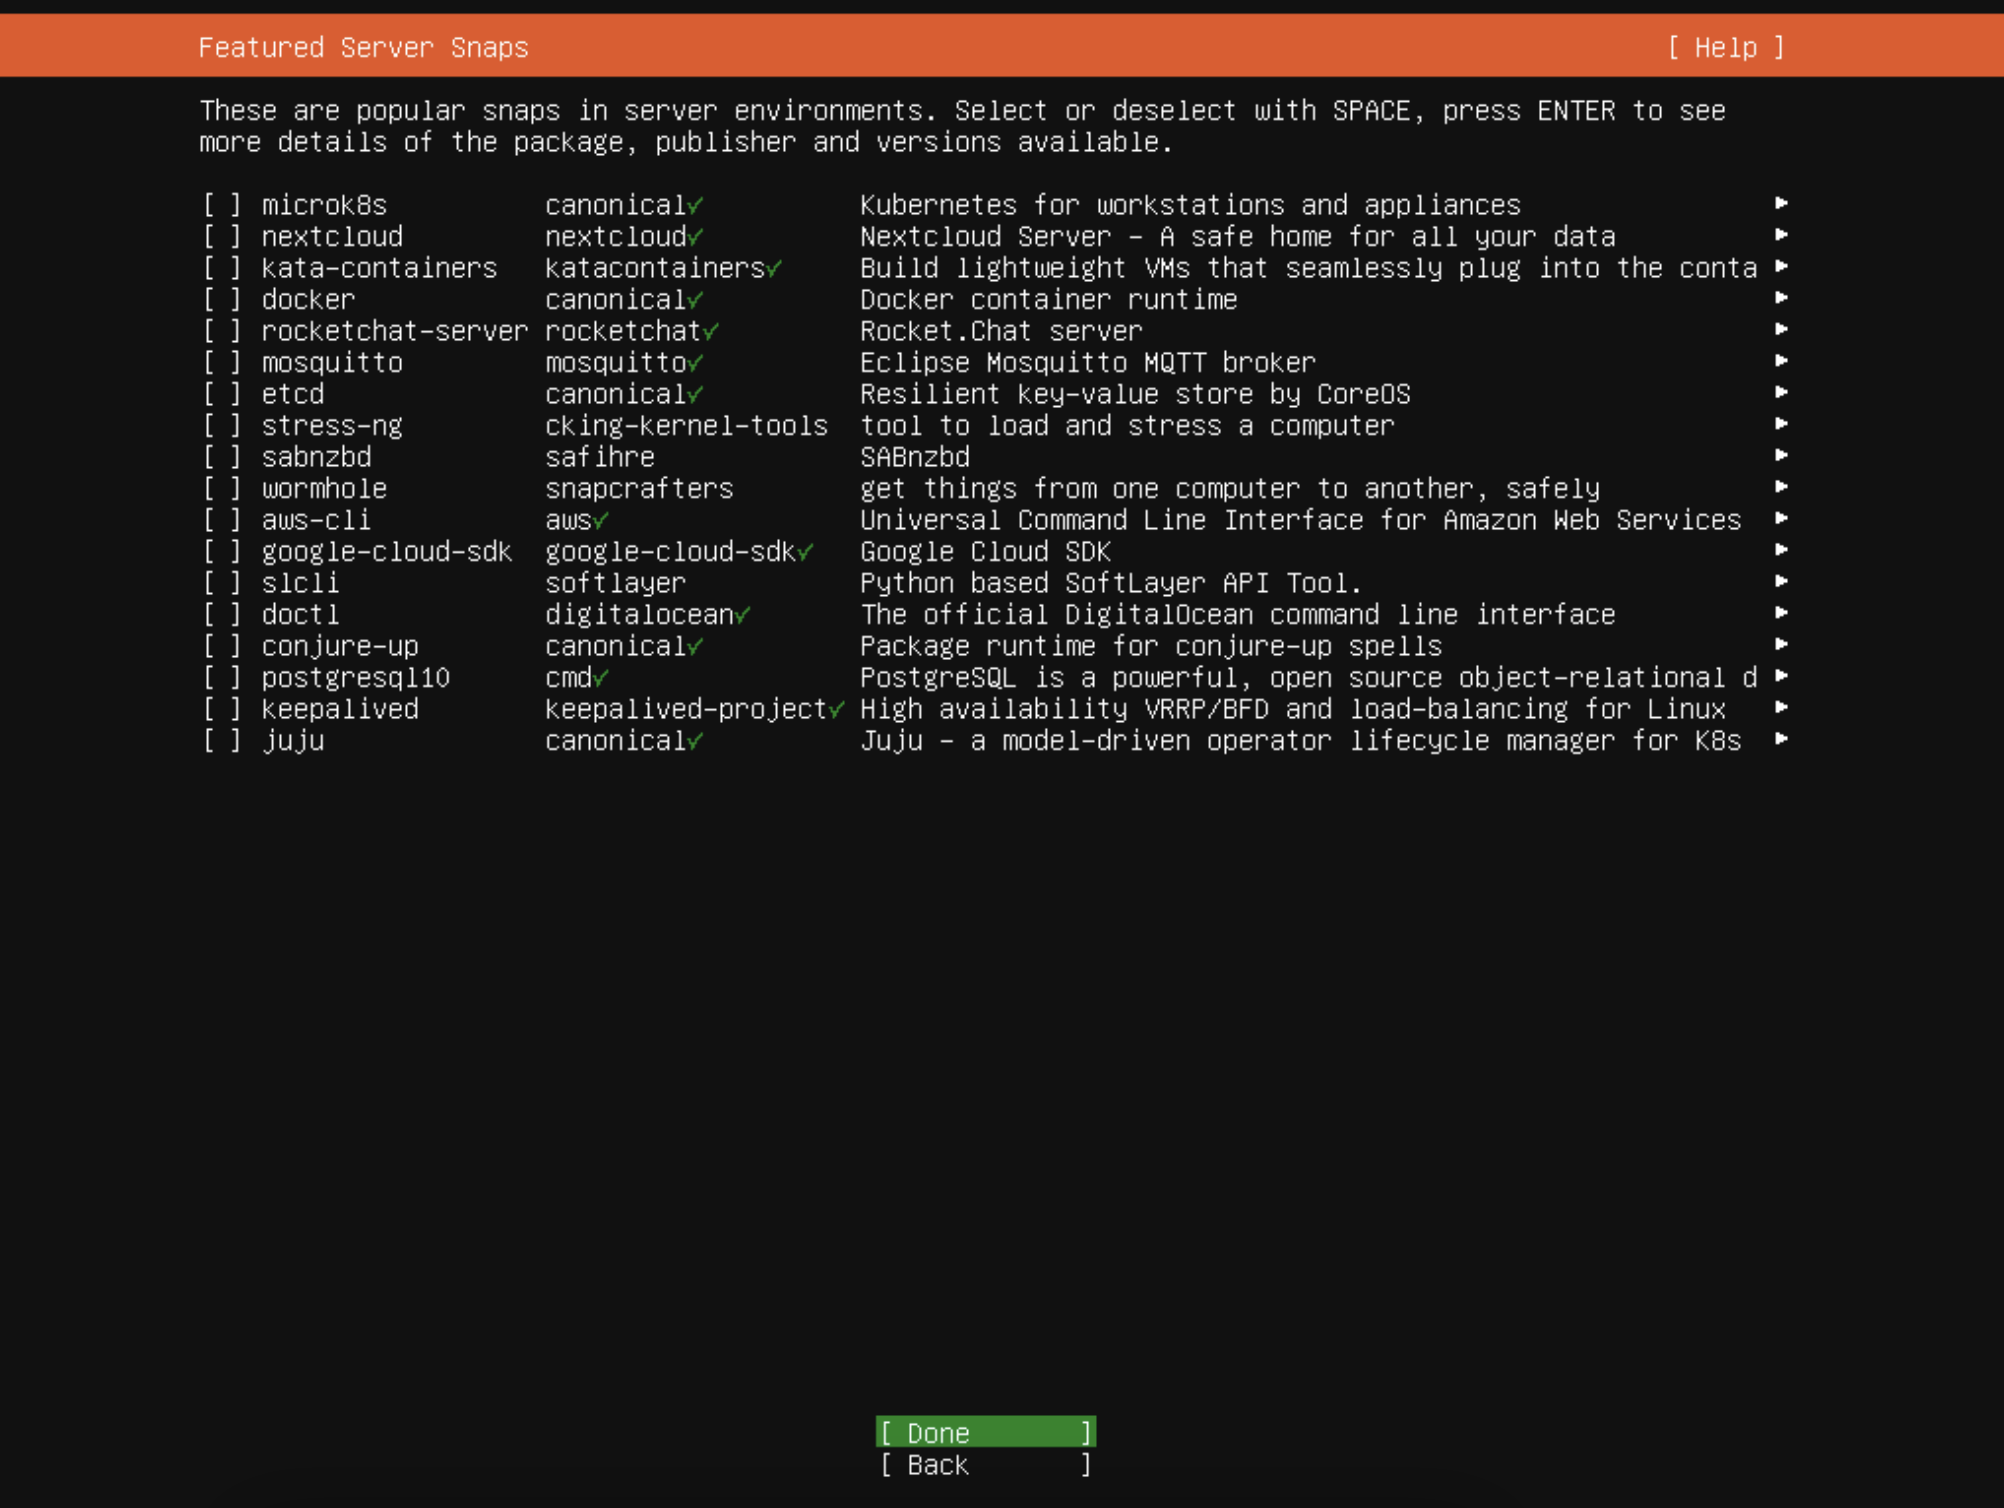
The other thing I do is that I do not install any of the optional services that one can select. If I need to install any of these later, specifically Docker and Docker Compose, then I will do so at that time.
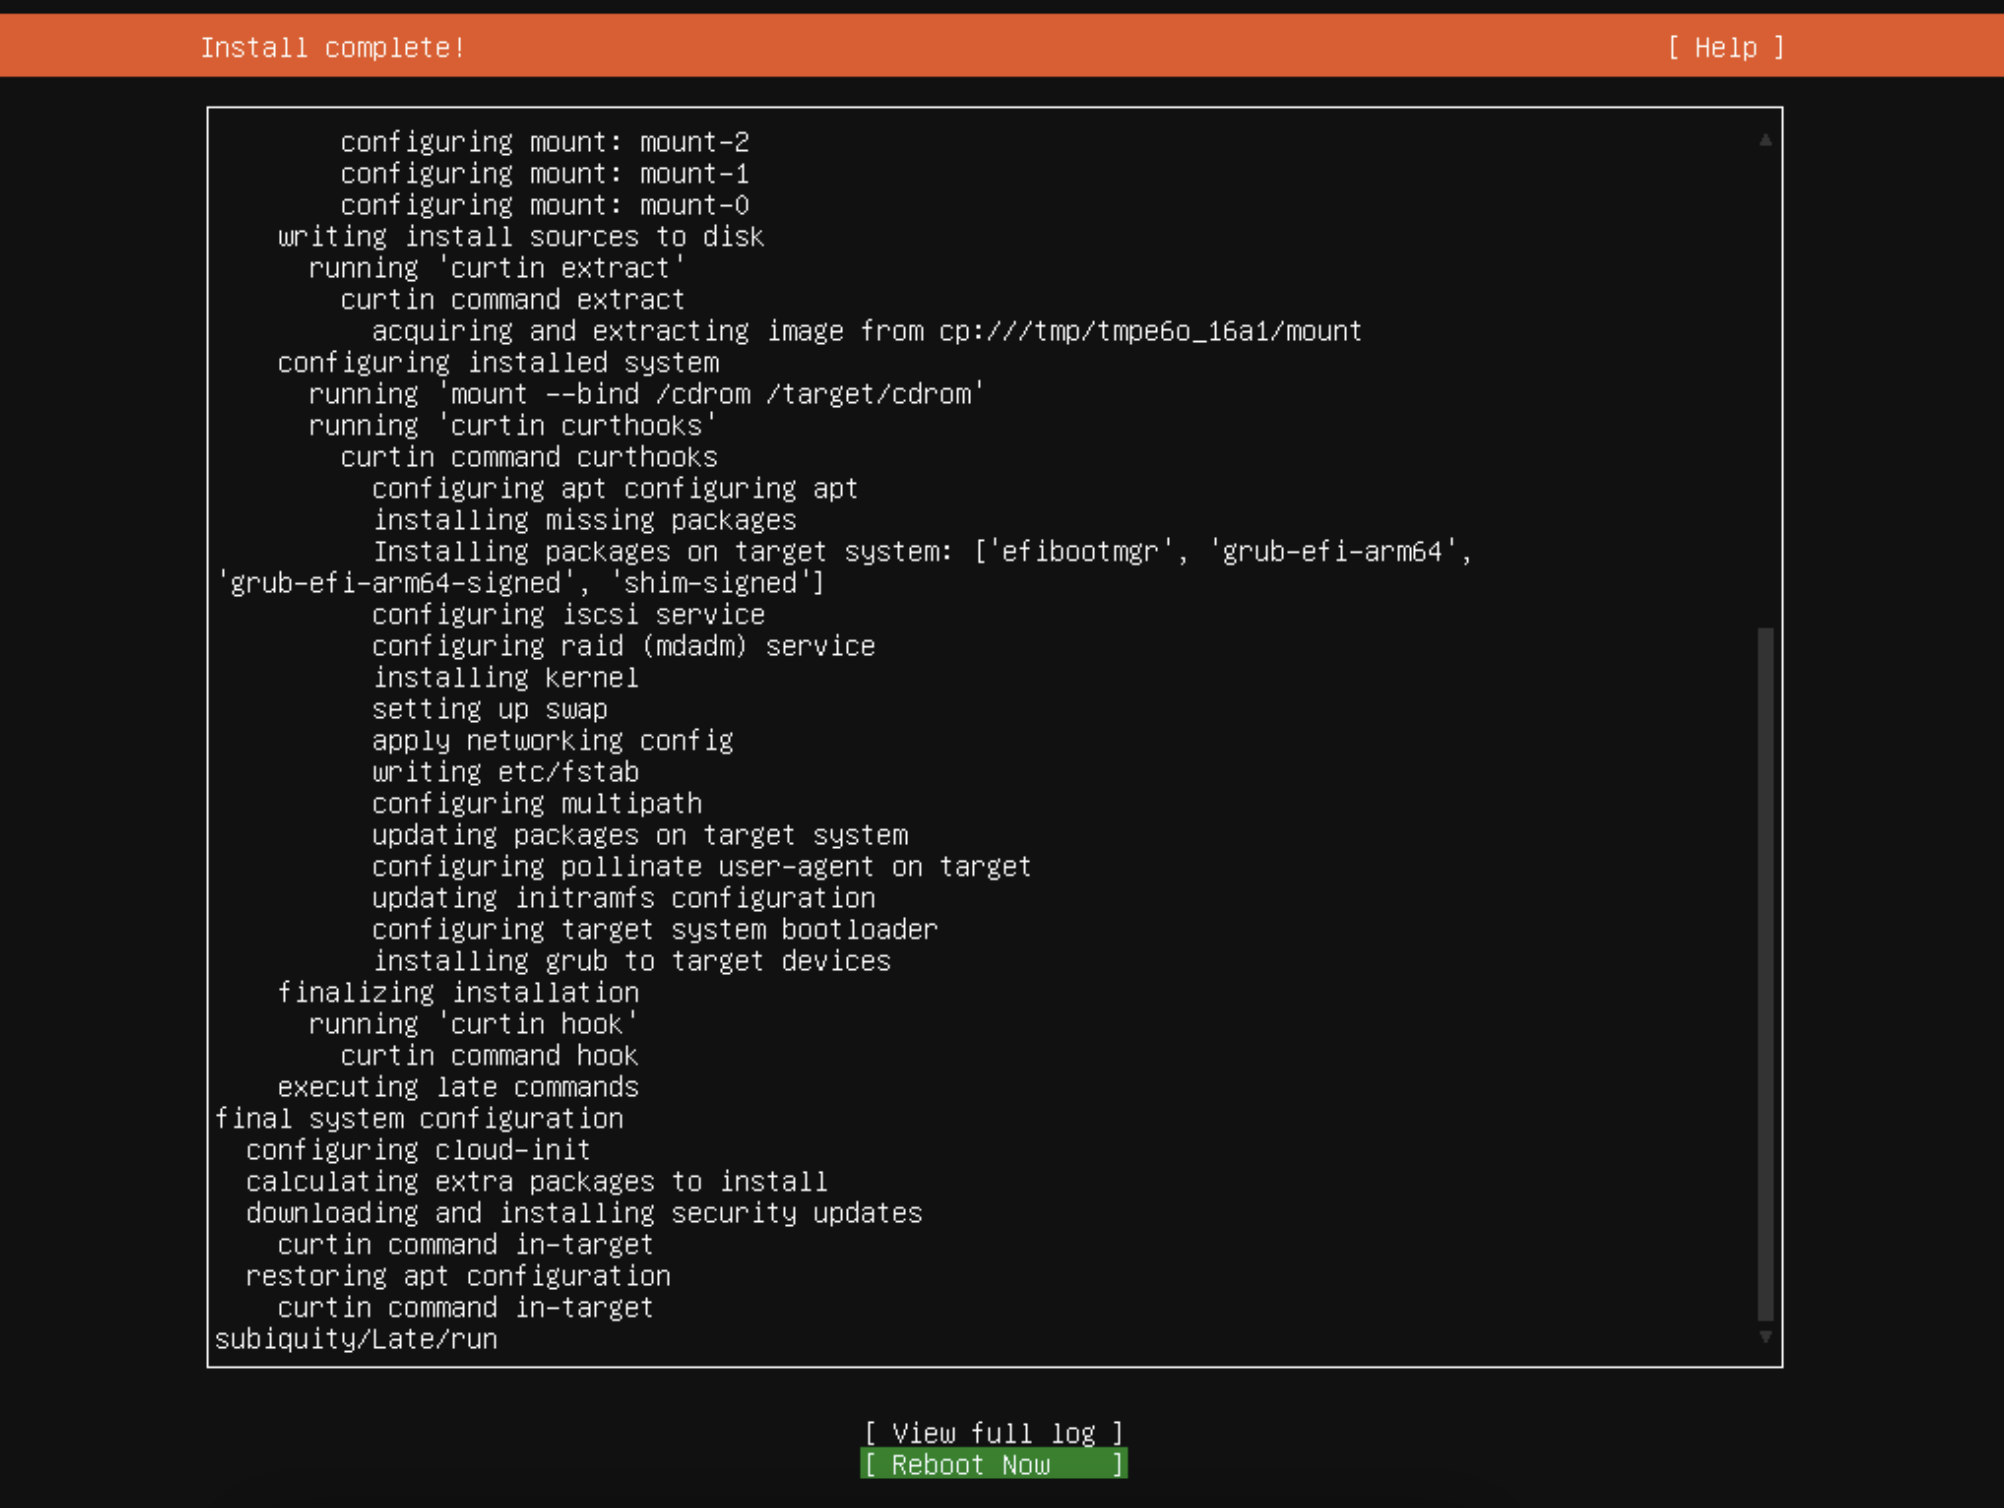
Selecting the default for all of the other settings, including the disk partitioning, will kick off the server install. When it is completed you will be presented with this final status screen with a reboot option. Clicking this will allow you to easily eject the install DVD and reboot the system.
You will now be presented with a command line only interface with a login prompt. Now we move on to installing the user interface and some other niceties.
Install Ubuntu Desktop
The first thing to do after login in is to update the system:
sudo apt update
sudo apt upgrade -y
One thing I like is command line completion, which is on automatically with the Ubuntu Desktop install but not the minimum server install. Install that with the below command and then reboot.
sudo apt install bash-completion
sudo reboot
Login once again and now install the Ubuntu GNOME desktop:
sudo apt install ubuntu-gnome-desktop
Once this is completed, which will take awhile, you are ready to reboot again. When you’ve rebooted now you will not be presented with the command line login any longer. Instead you will be presented with the standard GNOME login screen.
On initial login you will be presented with a standard Ubuntu wizard for whether you want to get live updates, report telemetry, etc. I usually disable all of this but choose whichever options you like
Install Parallel Tools Guest Additions
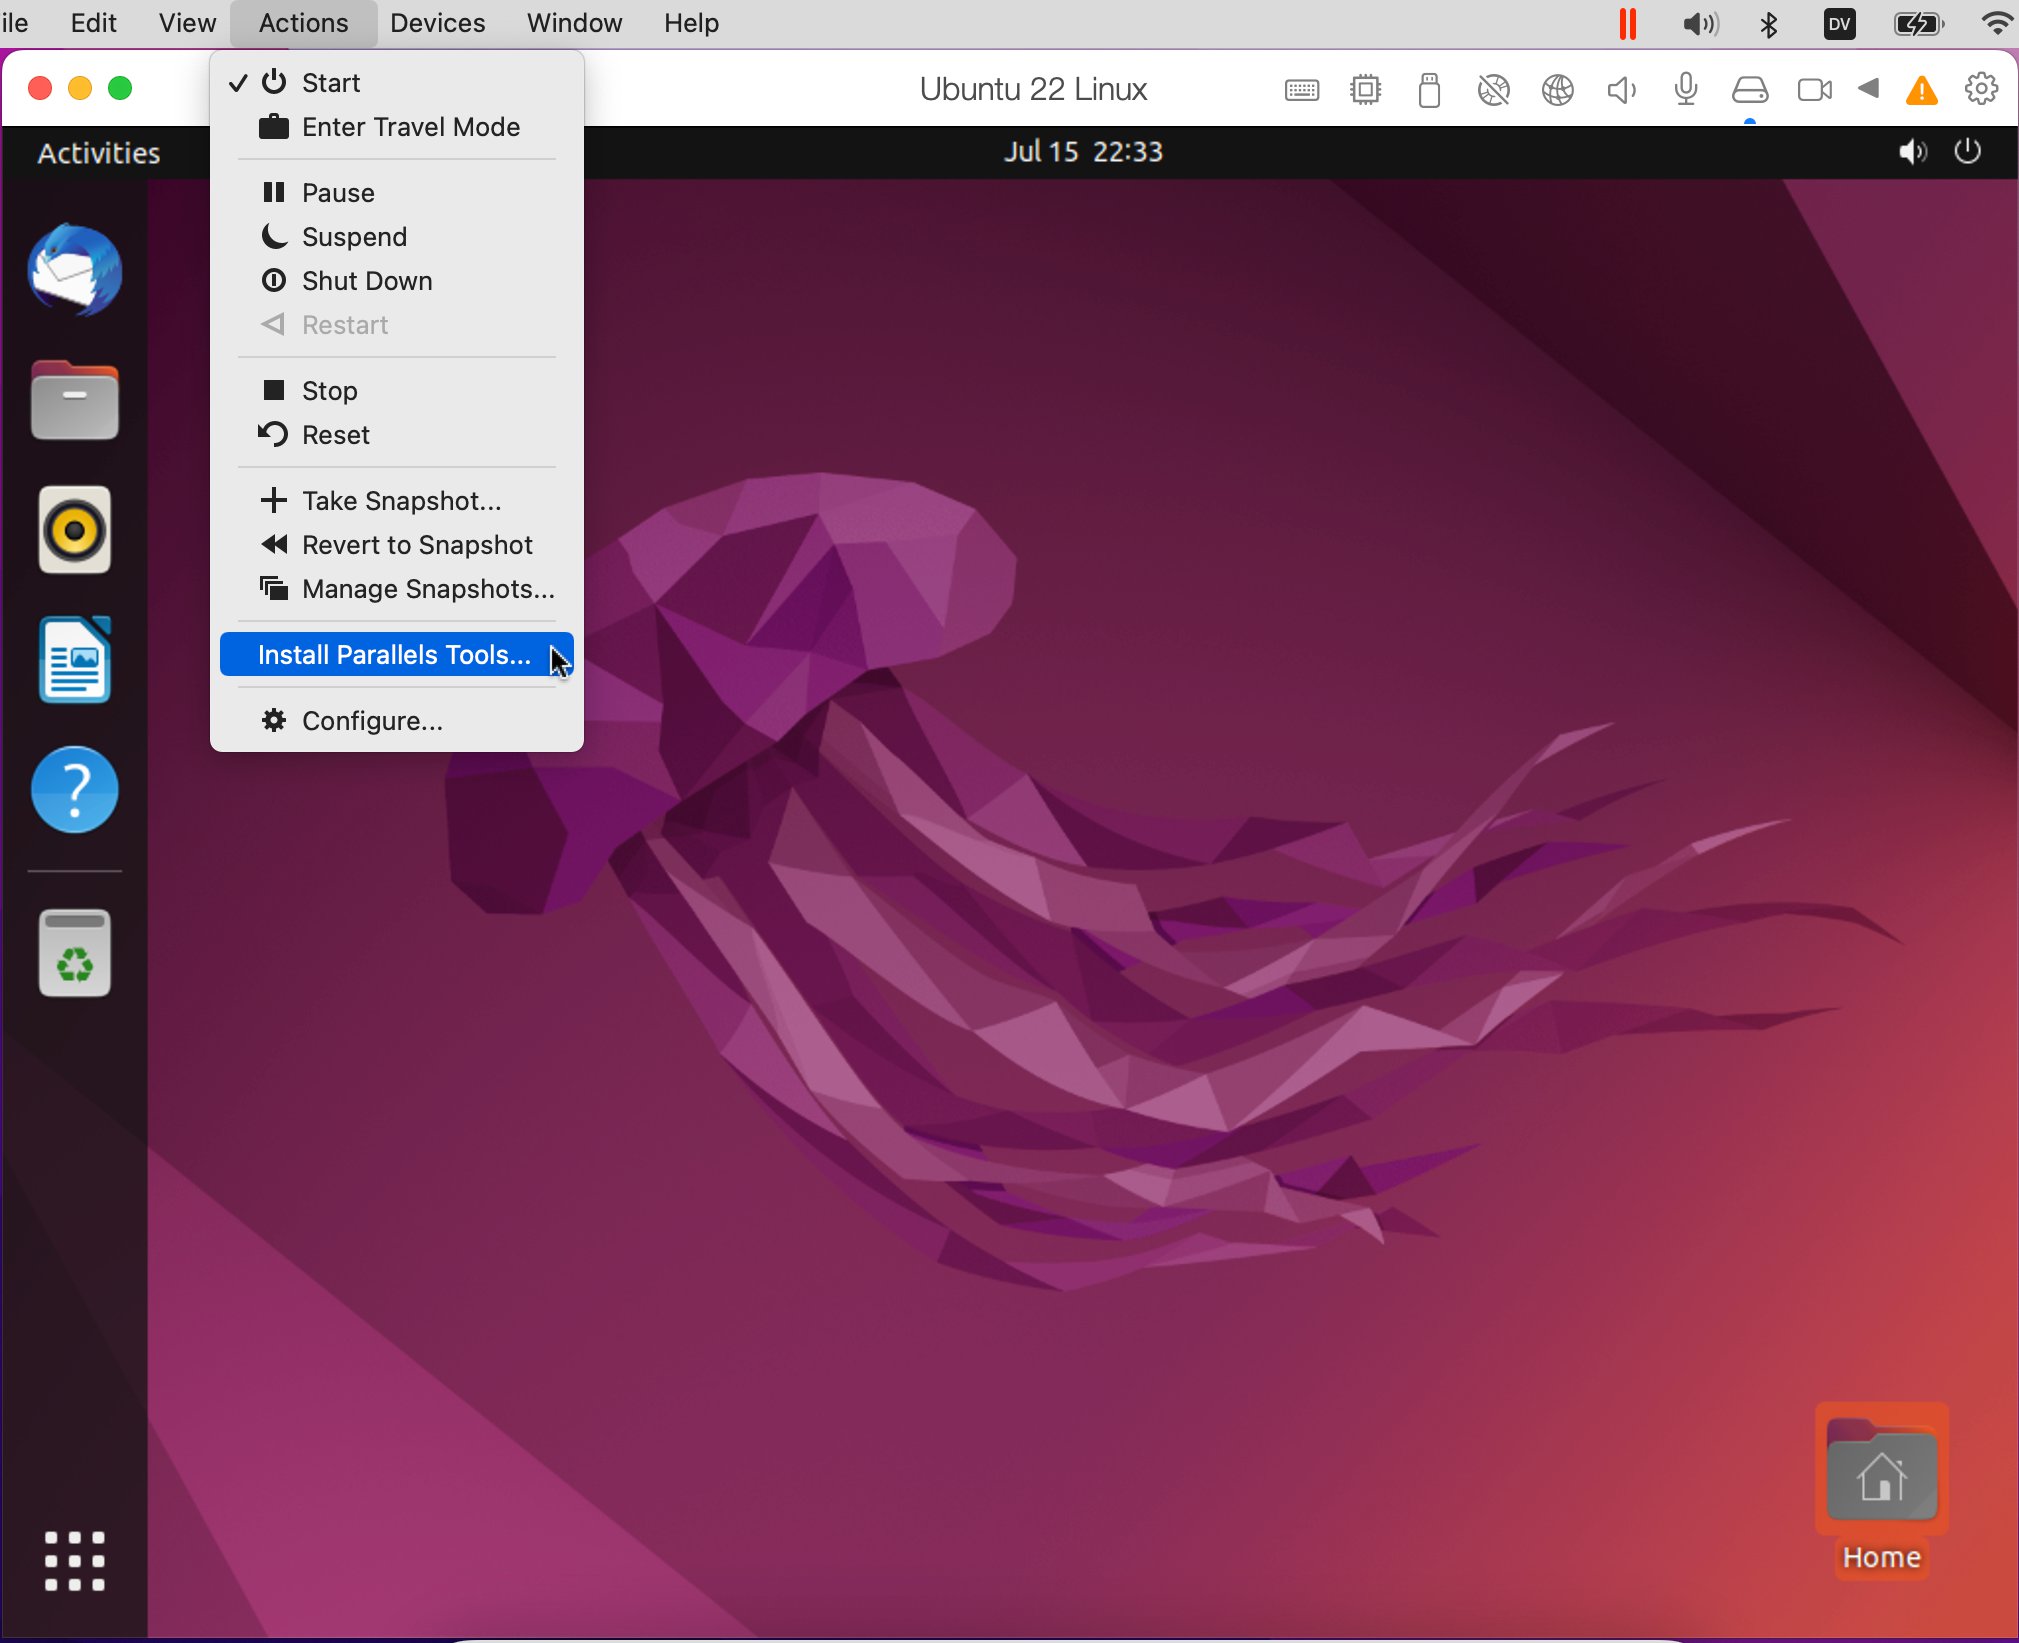
One of the real powers of Parallels is the ability to do things like mount folders on your Mac as folders in the VM, sharing the clipboard, accessing the Mac’s printers, sharing the webcam etc. In order to do this you need to install tools inside of the VM. From the Parallels Desktop Action menu select the “Install Parallel Tools…” option.
This will mount a DVD inside the VM with the tools. Although there is a graphical installer I find it to be not adequate if all the dependencies aren’t installed. Therefore open a terminal window in the main DVD folder image by right-clicking and choosing “Open in Terminal”. Once in there run the command line installer by executing the command
sudo ./install
All of the default options for the CLI UI are applicable so just select those. With a reboot after completion you now have a fully running ARM64 Ubuntu 22 desktop virtual machine.
Additional Software Installs
Because of the minimum install there isn’t a web browser installed (ironically some games are though). The software store is also not installed. I usually use Firefox so one of the first things I do is add the Firefox browser
sudo apt install firefox
If you like using the GNOME software store for installing software you can also install that:
sudo apt install gnome-software
Sometimes the store gets confused about network status for some of the nice to have browsing around lists etc. Once you install any software through it however it should “just work” like normal.