


 2021-06-18
in
2021-06-18
in

 5 min read
I’m always looking for new ways to use up my sourdough starter “discard”. When I started doing sourdough over a decade ago my go to was always pancakes followed by English Muffins . Recently I’ve mostly been using it for pizza crusts using the King Arthur Sourdough Pizza Crust recipe. I’ve tried various bread recipes but was never that impressed with them until now. This sourdough ciabatta post by user P.J. Smith over at The Fresh Loaf bread making enthusiast site really did the trick. His recipe is heavily inspired by this one posted by Jason Molinari on USENET back in 2006. Mine below is heavily inspired by his.
Ingredients
- 200 grams 100% hydration starter
- 400 grams unbleached all purpose flour
- 375 grams warm water
- 2 tsp instant yeast
- 15 grams salt
Directions
NOTE: If you have self scraping paddles for your mixer see the discussion below.
Add yeast to the water and let rest for 1 to 2 minutes into mixing bowl
Add starter to the water/yeast and stir to incorporate. If your starter is at a different hydration add flour or water to compensate. For example mine is at 150% hydration therefore I added a little extra flour to it to get it up to the right level.
Using the paddle attachment on low speed (1-2) begin to slowly add the flour until completely mixed.
Let rest for 15-20 minutes
Turn the mixer back on low speed and add the salt.
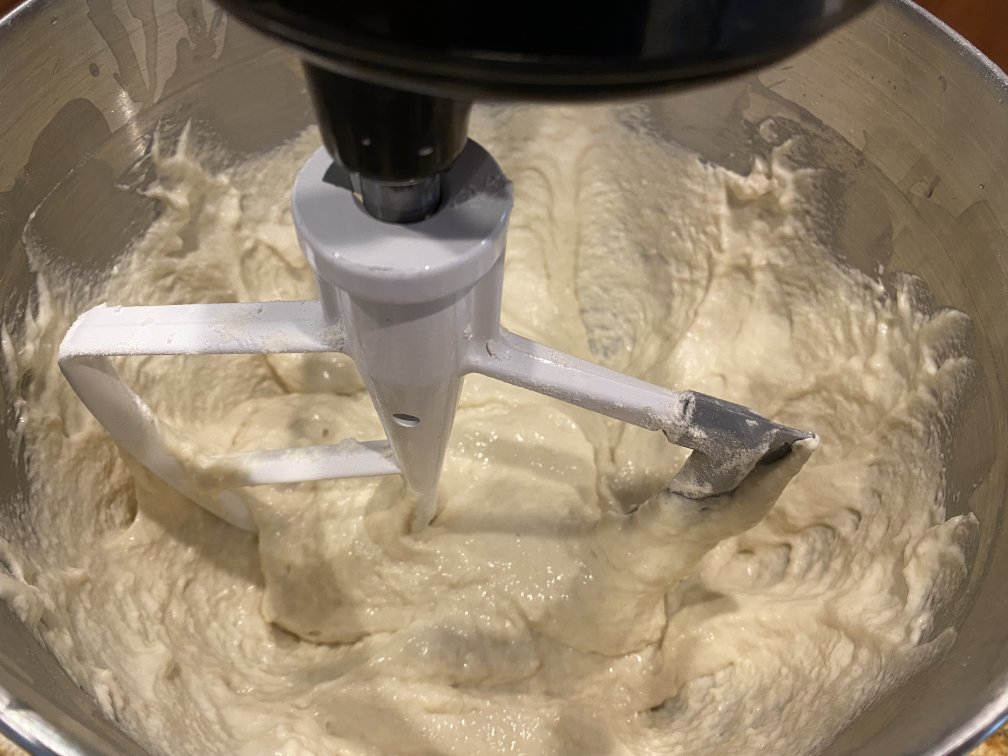
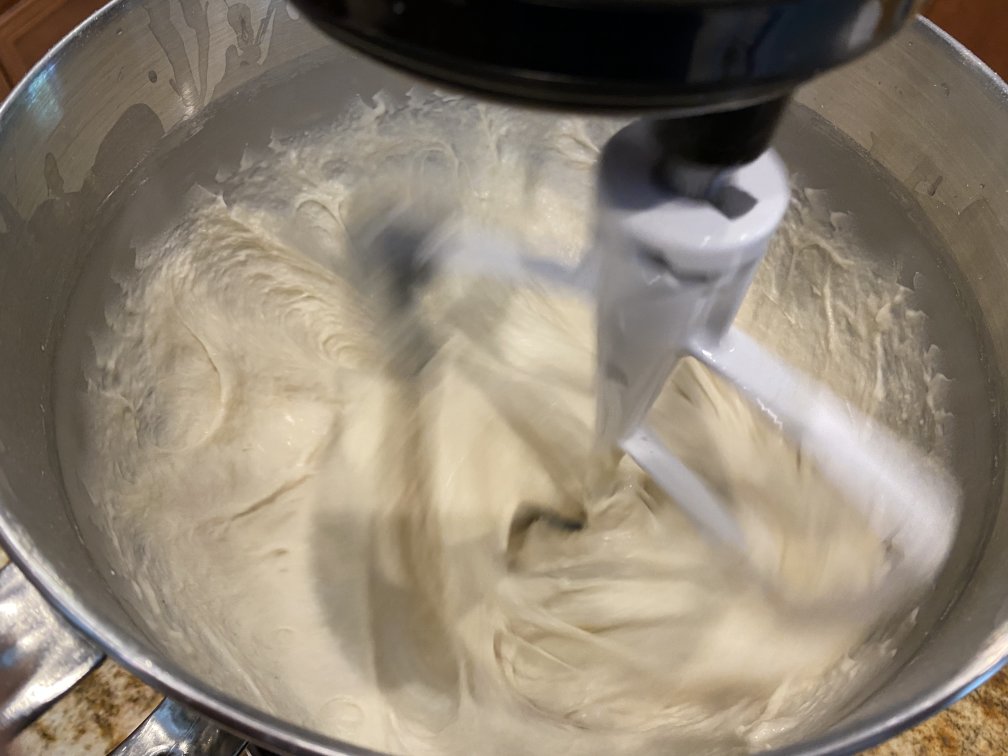
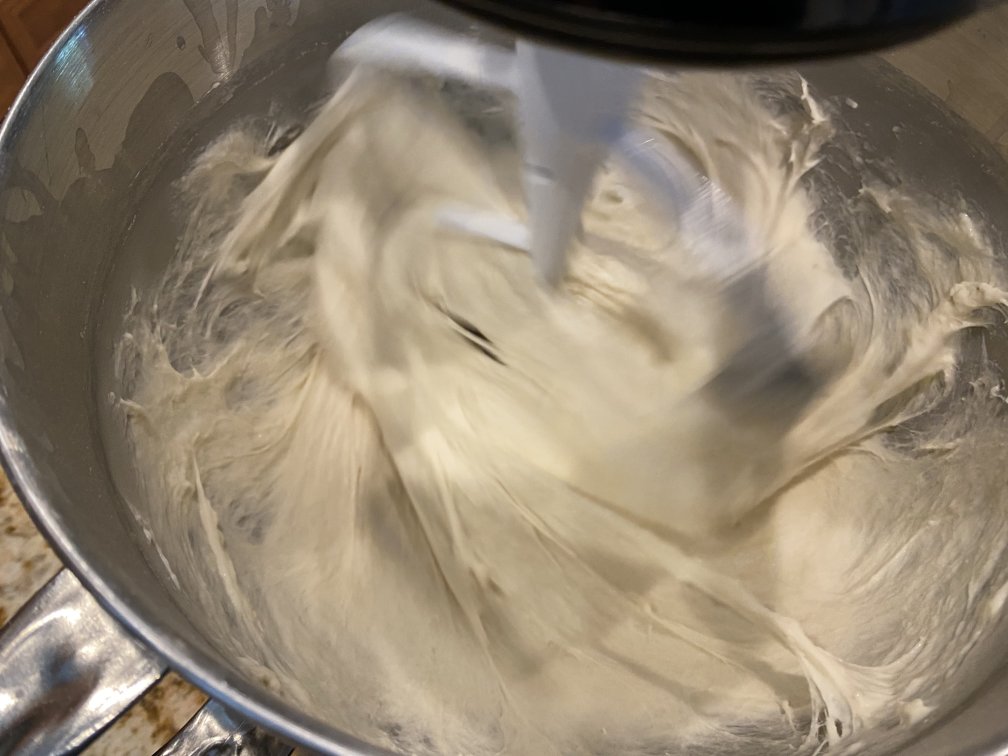
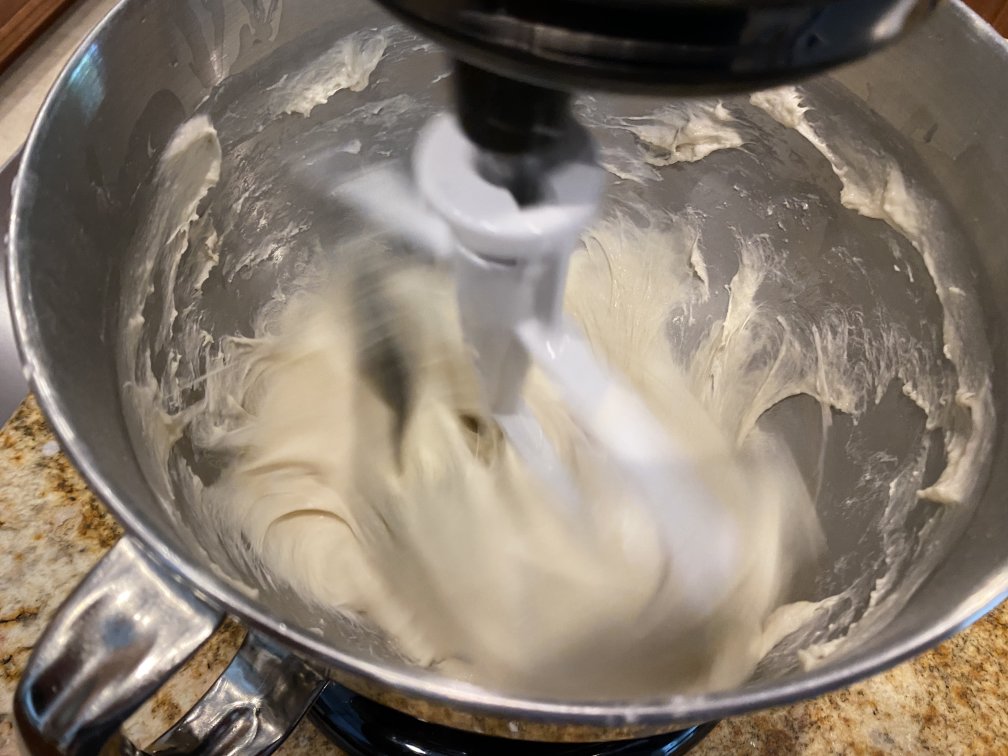
Begin the gluten development with the paddle attachment. This can take 5-10 minutes at medium-high speed (6 on my mixer). For awhile it will look like it isn’t doing anything but then within the last few seconds it will come together. You want to run it until the dough is completely pulling away from the sides of the bowl and in the paddle. The last few seconds really make a difference. See the progression pictures:
Dough after resting but before ‘kneading’ with paddle

25 seconds into kneading, looks more like batter
3 minutes into kneading, you can see it’s starting to be pulled down and into a mass near the bottom but still batter like
4 minutes into kneading, starting to see lots of strands and it coming together into a dough
4 minutes, 29 seconds into kneading, 10 seconds before the dough has enough gluten to become a mass on the paddle
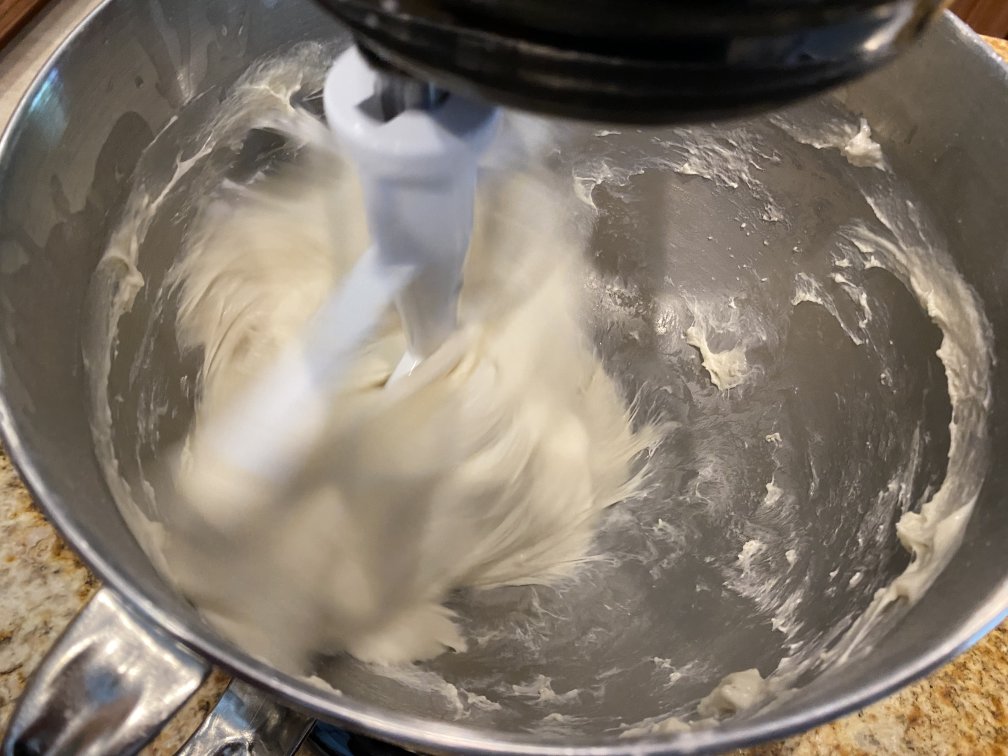
4 minutes, 35 seconds into kneading, 3 seconds before complete with the dough almost completely in the paddle

4 minutes, 38 seconds into kneading, paddle kneading complete with the dough fully in the paddle
Replace the paddle for the dough hook. Run mixer at medium-high speed (6 on my mixer) until it starts climbing up the dough hook (1-2 minutes). See progression pictures:
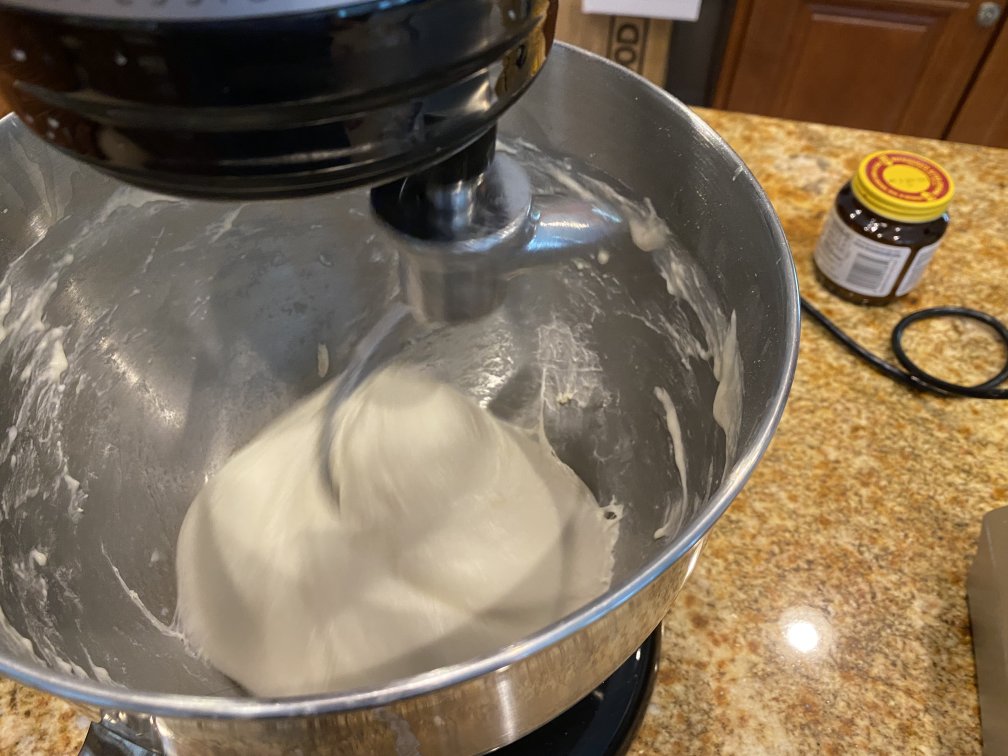
Start Hook Mixing
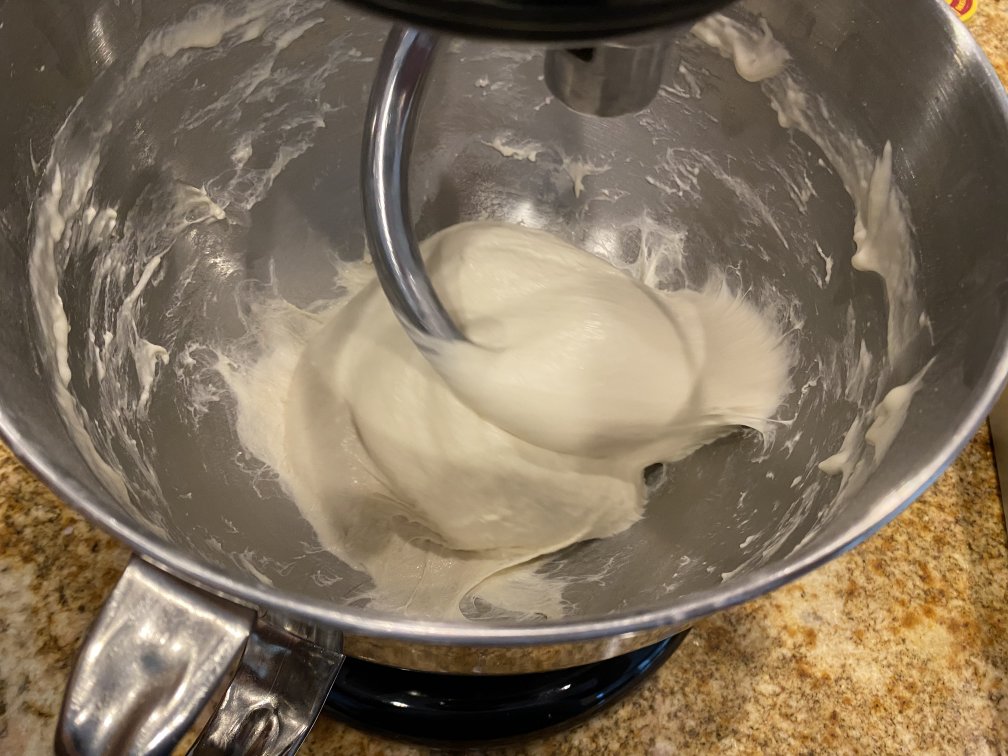
Finish Hook Mixing, 1 minute later
Pour into an oiled bowl. This will be very soupy as you can see.
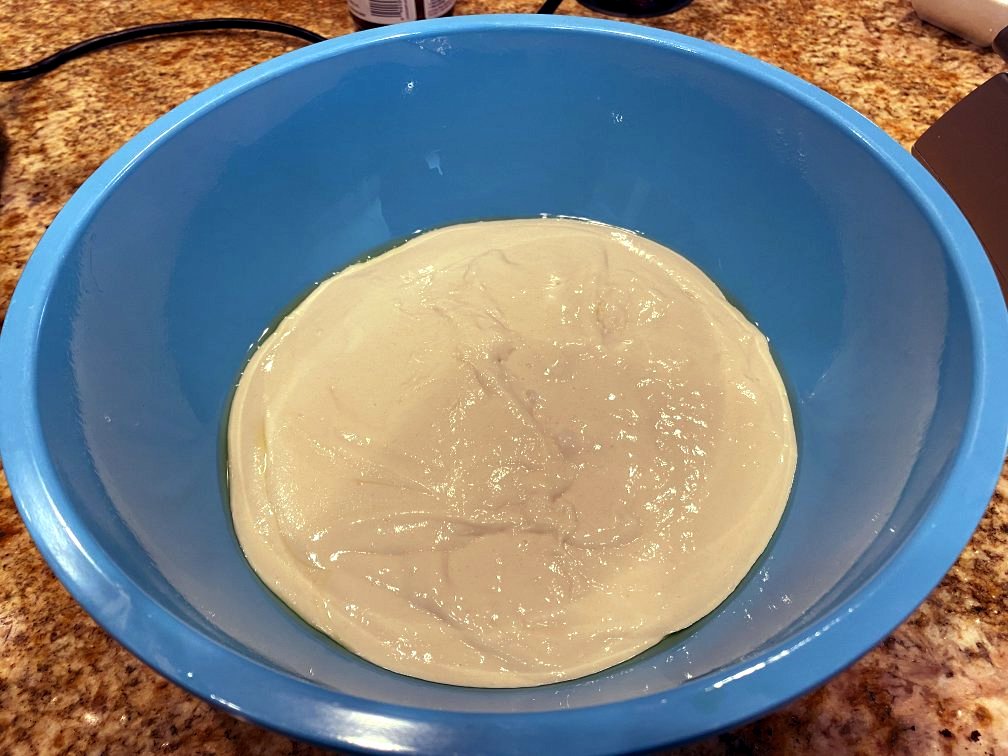
Dough poured into bowl at beginning of rise
Let rise until it more than doubles in size and shows lots of activity (2-3 hours). Below is a picture of mine at the 2.5 hour mark

Dough in bowl finished rising
Heavily flour your work surface and pour the dough out on to it.
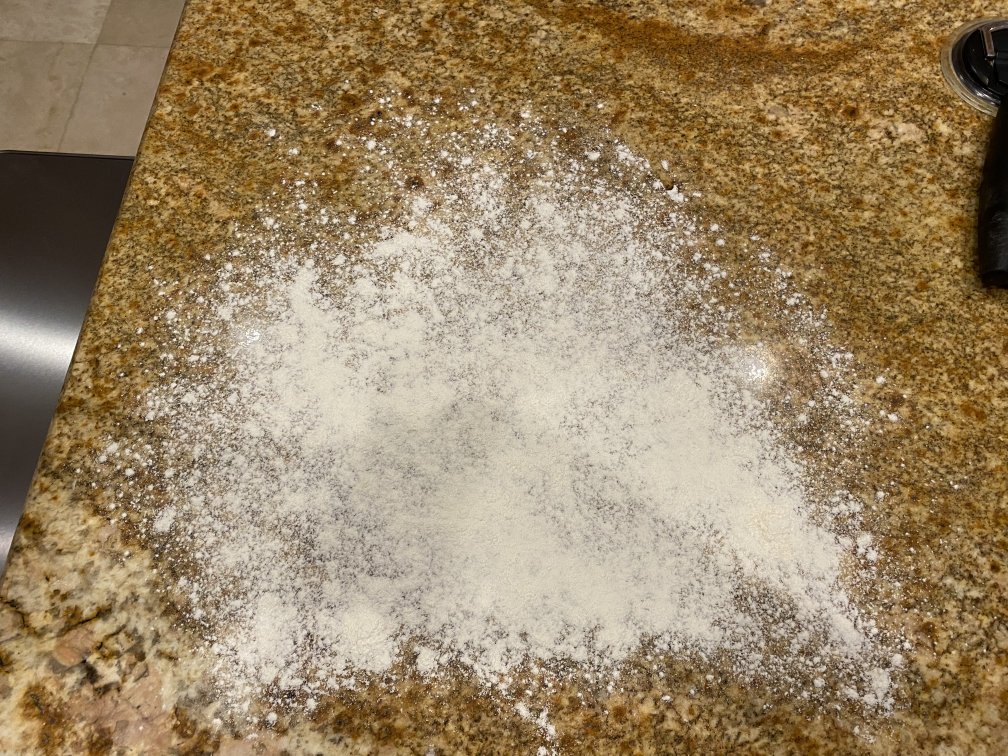
Floured work surface
Cut a piece of parchment paper the size of your baking stone and peel. Use this as a guide for how long your loaves can be during the shaping stage to make sure you don’t over do it.
Spray cooking spray or oil two bench scrapers. You need to oil your bench scrapers or this will get very messy. Cut the dough down the middle and fold the bottom on to the top. Using the scrapers shape the loaves incorporating excess flour underneath. The dough is very slack so it is easy for it to spread and stretch bigger than your desired size. However that also means it can be tucked and folded to help correct for that. It’ll take a few tries to get the hang of it consistently.
Let rest for 45 minutes with a light cover on them (I use paper towels which naturally arch up a little to minimize dough contact). If necessary very lightly flour the top to prevent your cover material from sticking.
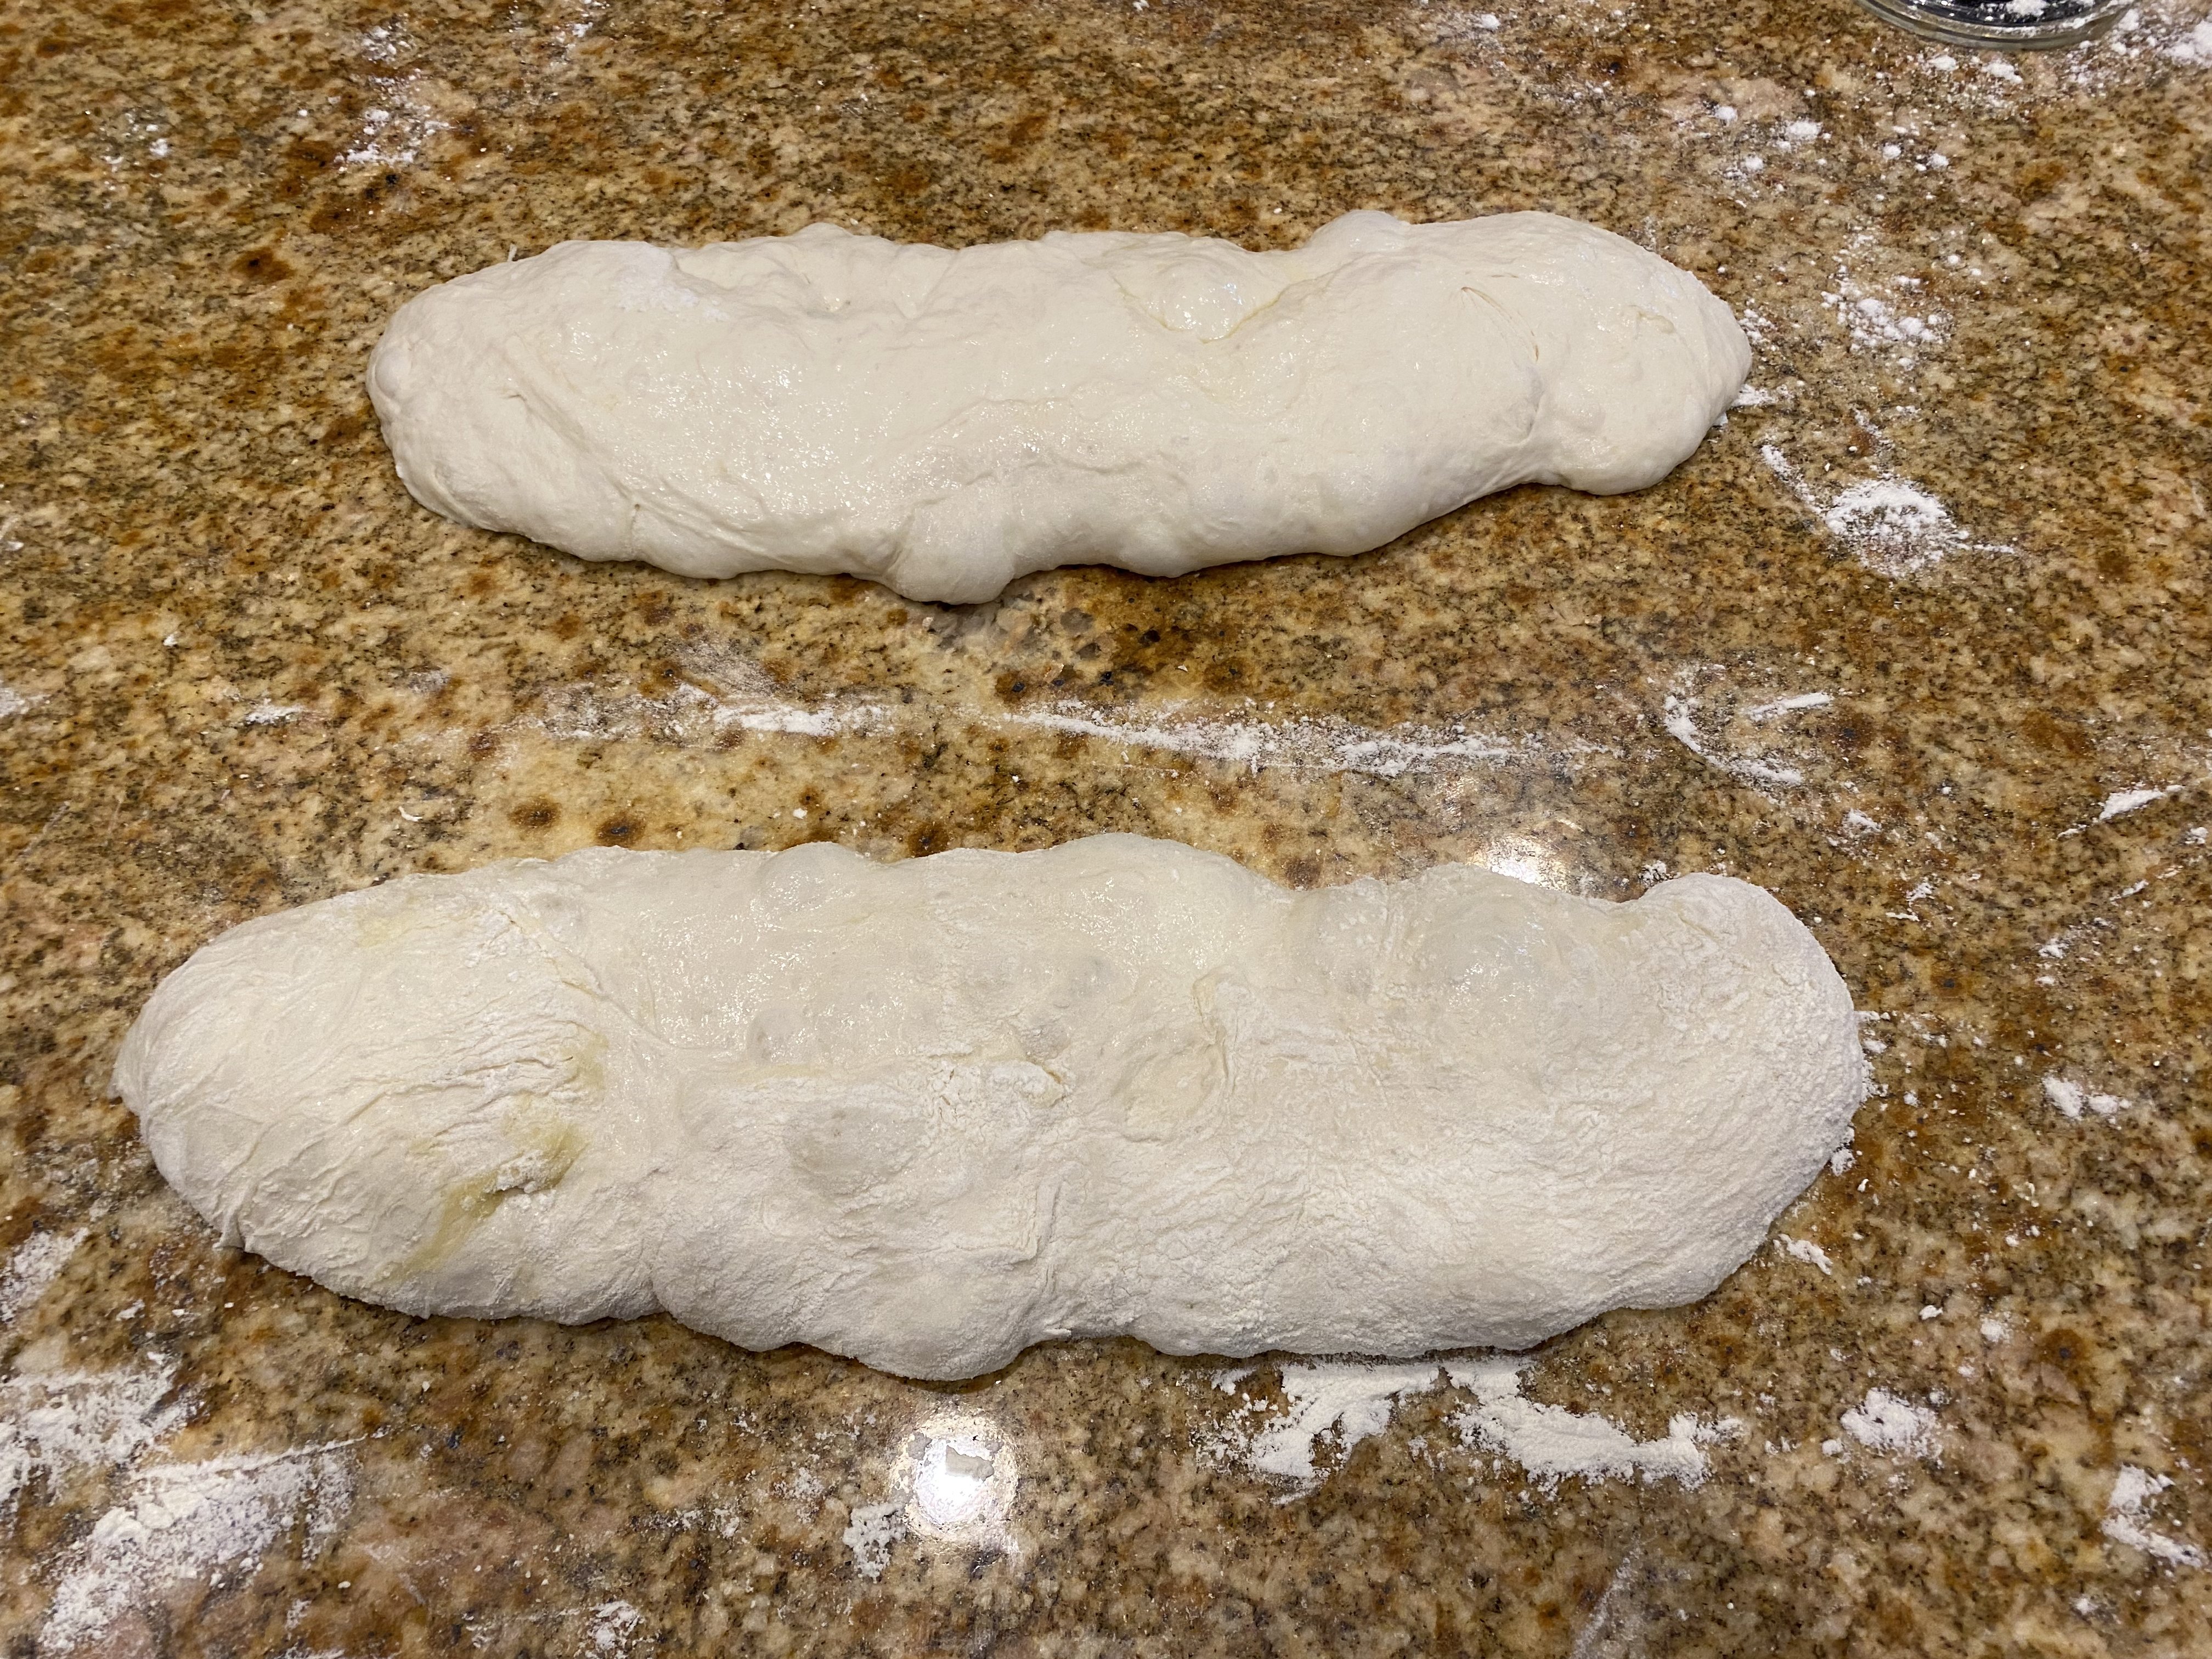
Shaped Loaves
While resting pre-heat oven to 550 degrees F. When the oven is up to temperature add a cup of water or so to an oven safe frying pan. Bring the water to a boil on a burner and then transfer the frying pan to the oven placing it on the top rack. This will add a steam effect for your oven.
Transfer the loaves to parchment paper by rolling them on to the surface using cleaned and re-oiled bench scrapers. Using a peel or pizza pan transfer to the oven
Bring the oven temperature down to 500 degrees F immediately and cook for 10 minutes
After 10 minutes set the oven to 450 degrees F and rotate the loaves
Cook the loaves for another 8-12 minutes, until done.
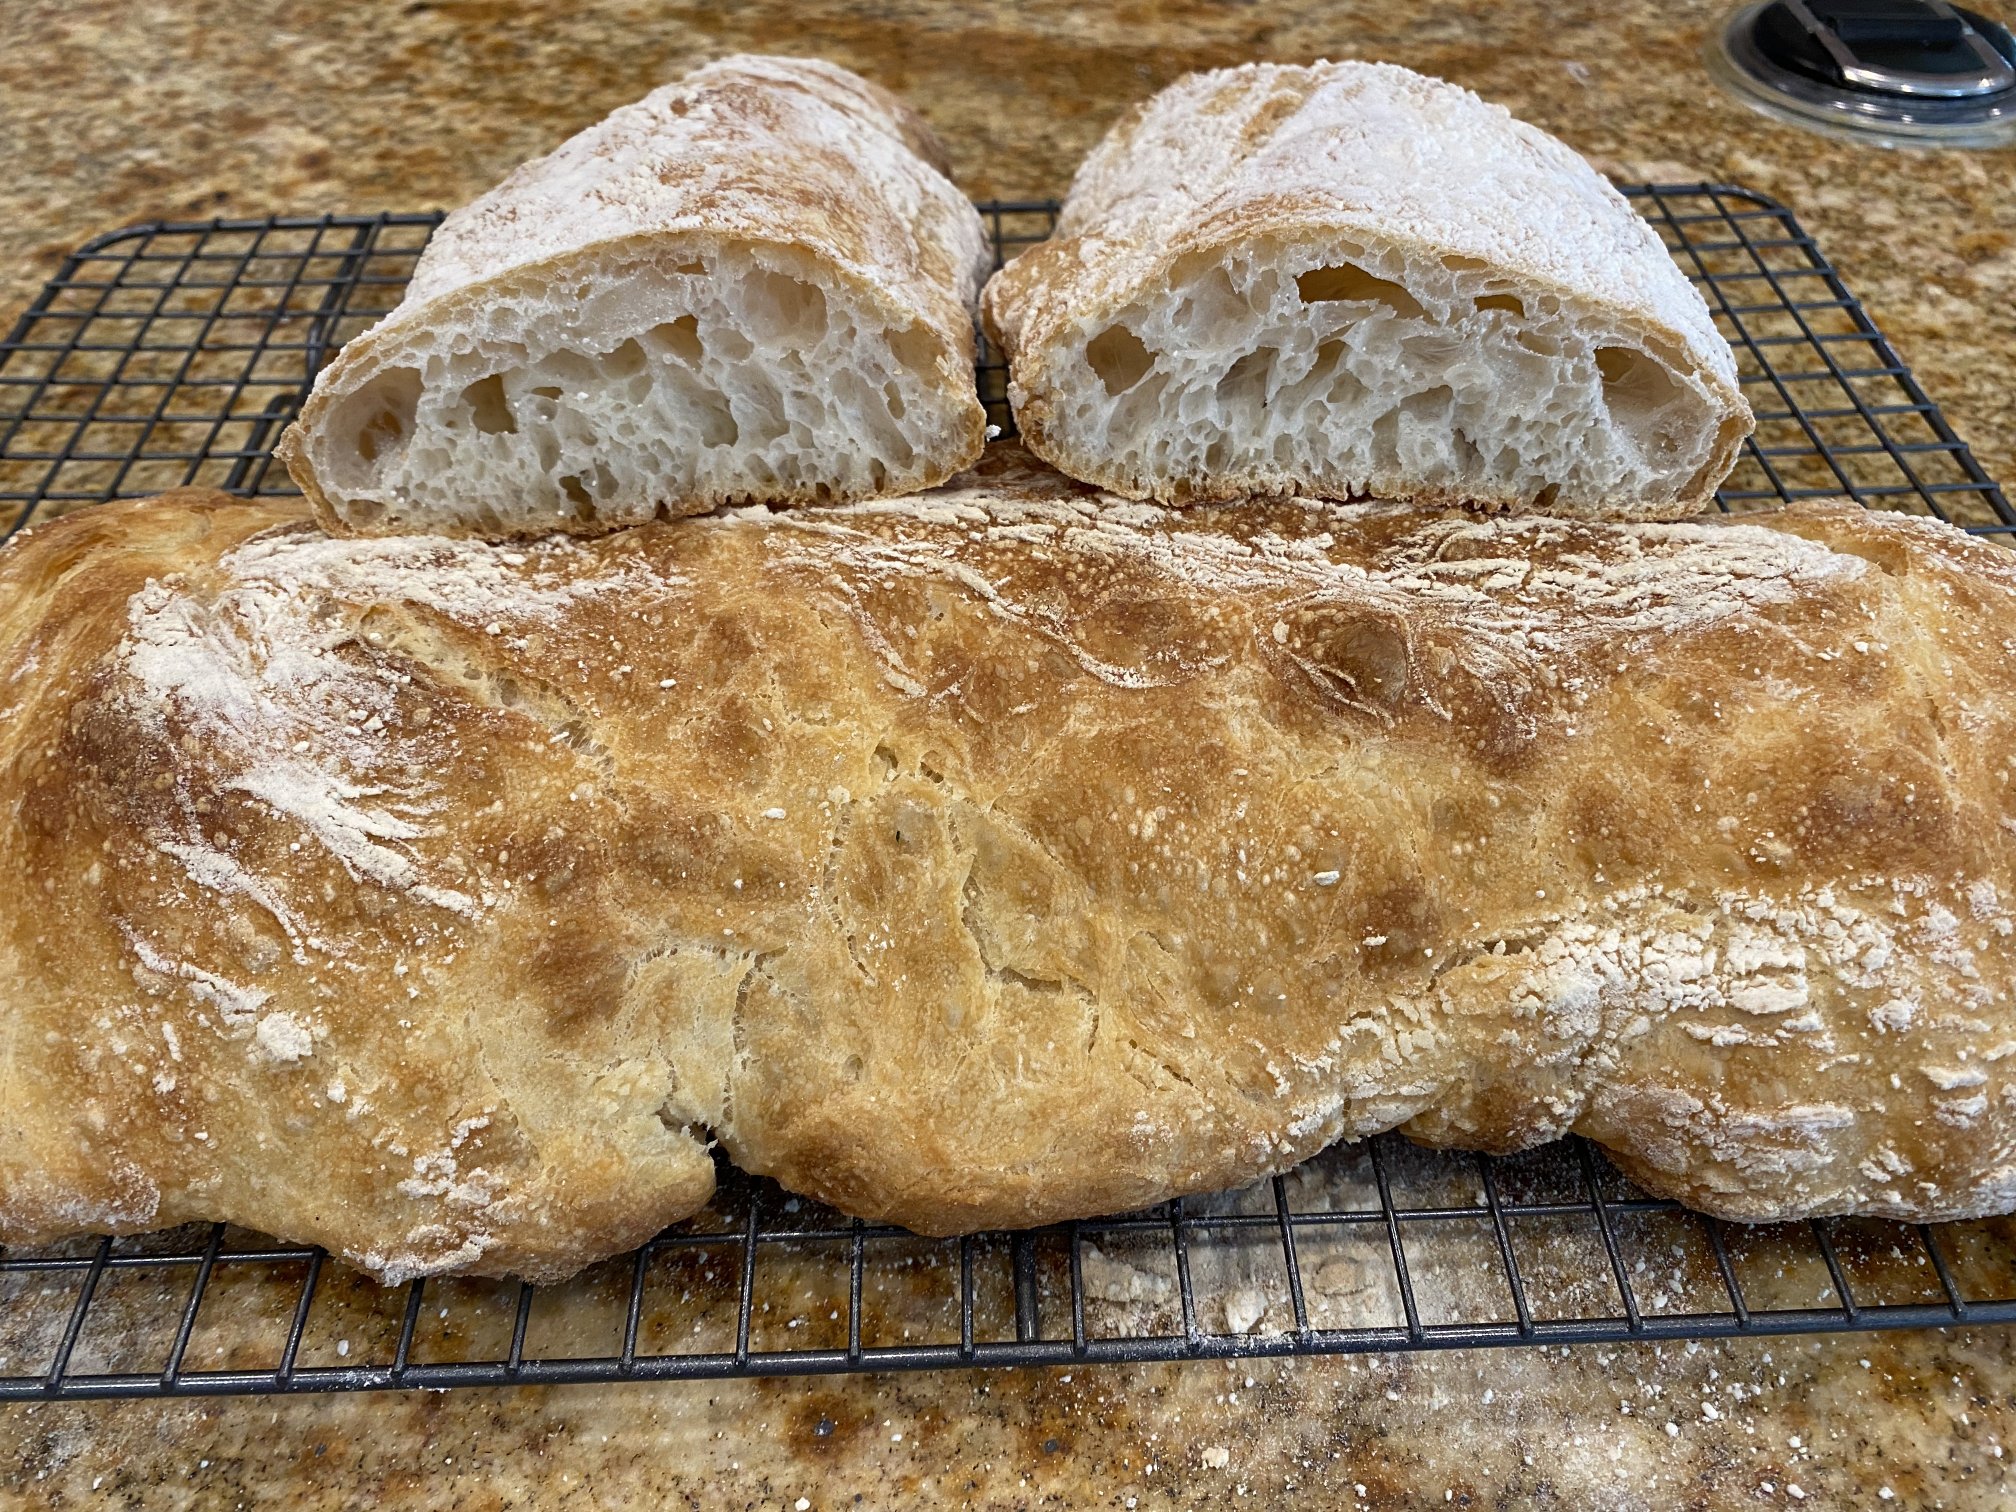
Take loaves out and place on cooling rack for at least15-30 minutes before cutting/serving
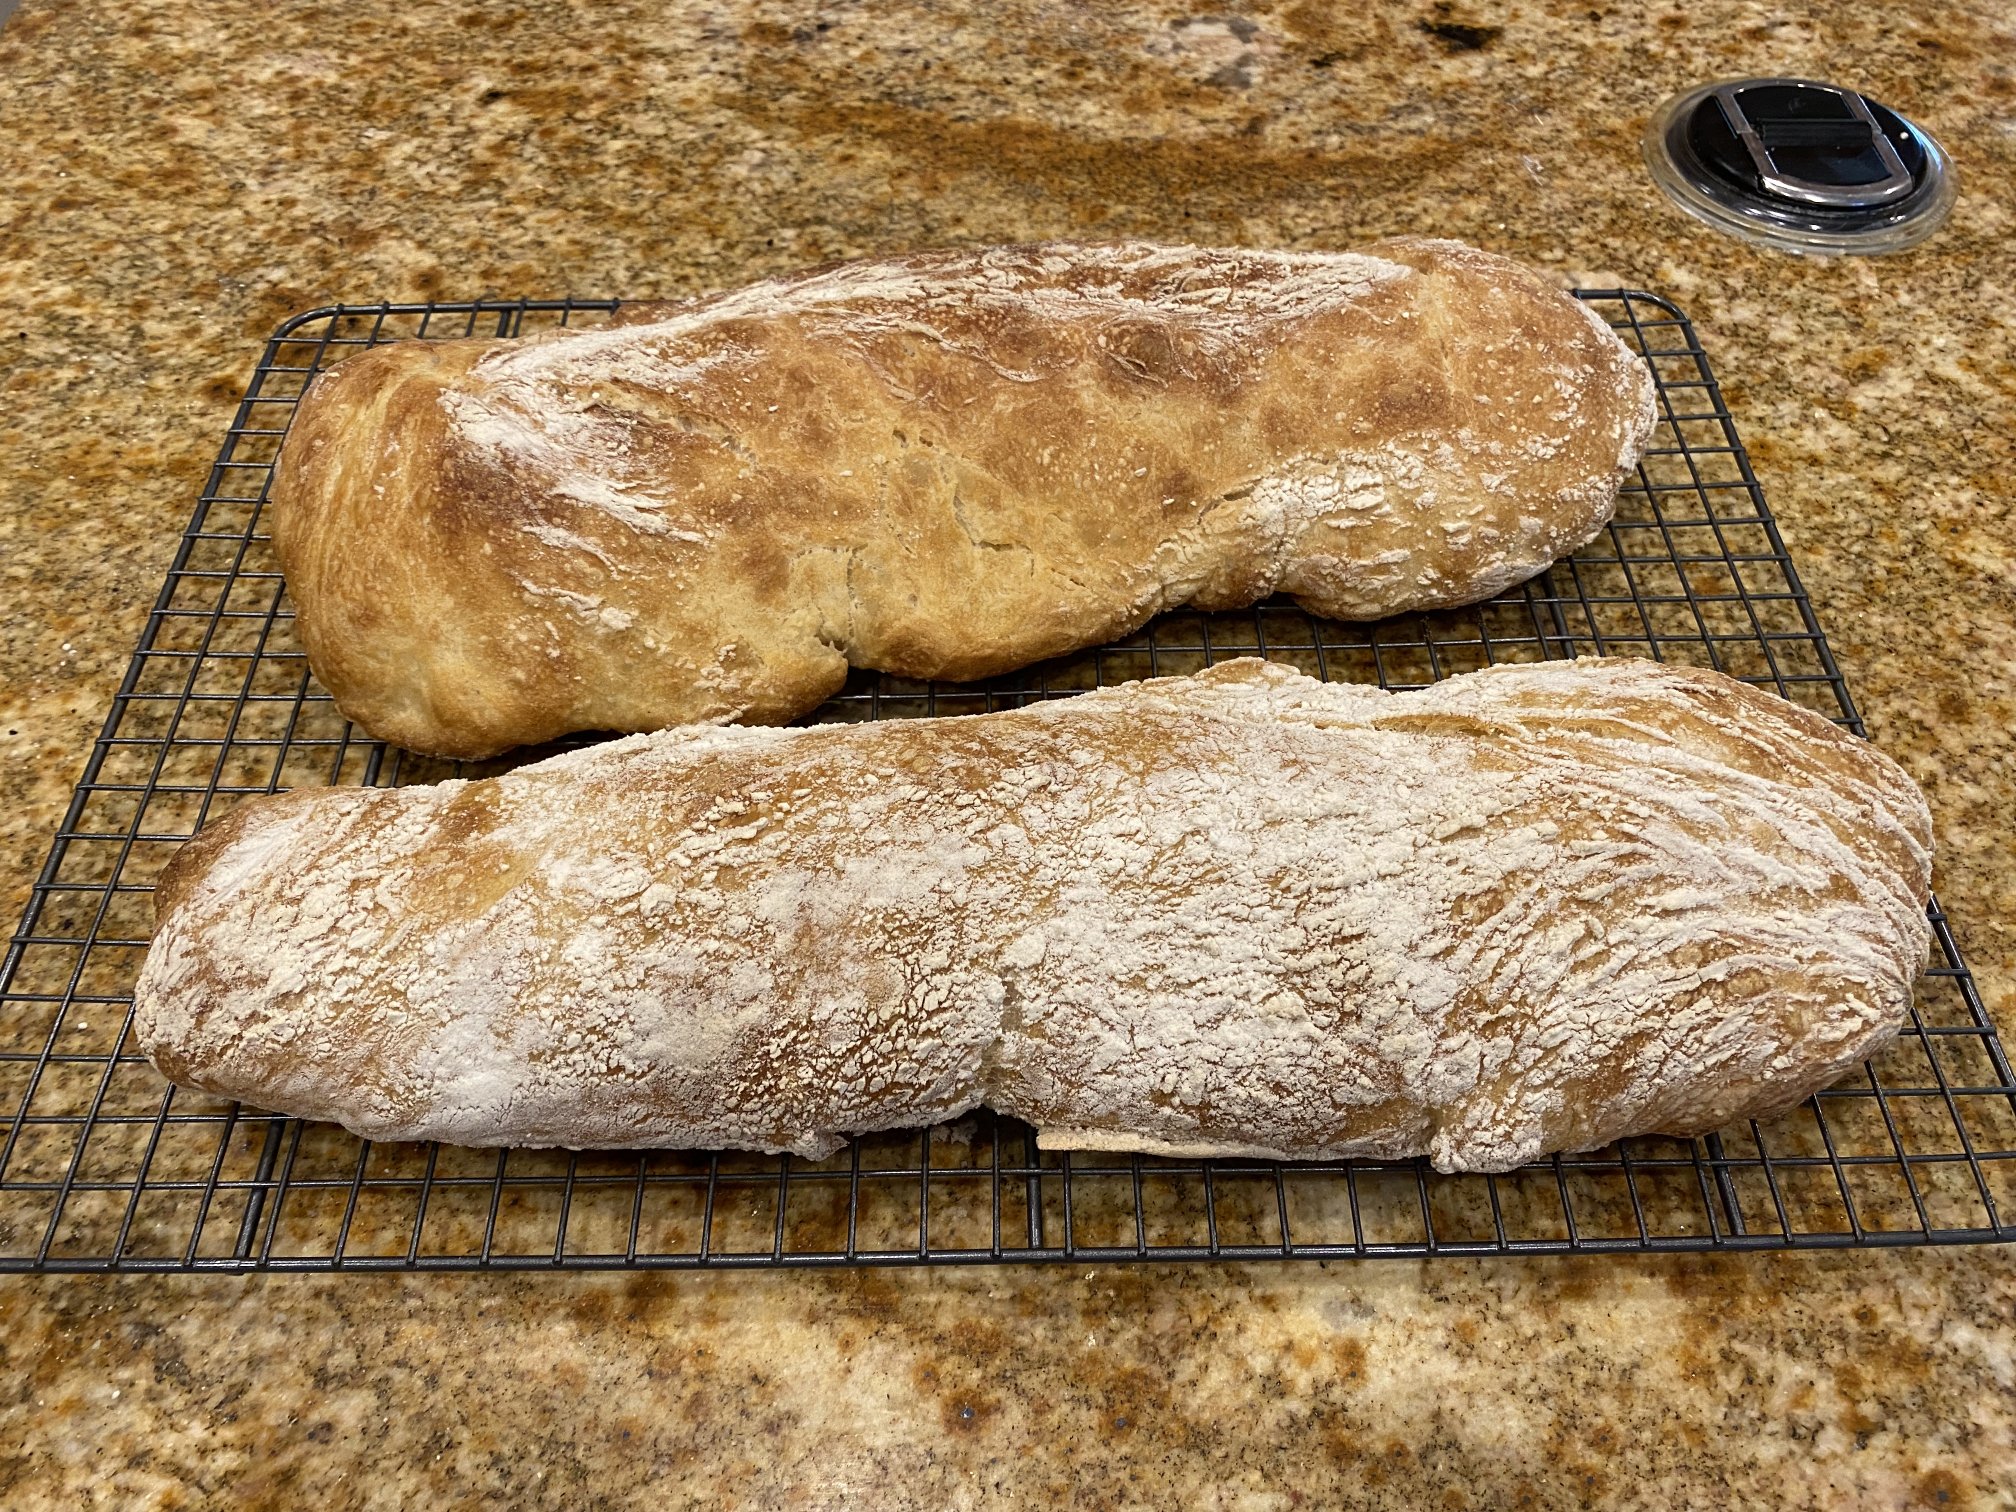
The completed loaves:
Paddle Type Discussion
KitchenAid mixers, and similar ones come with a paddle attachment that looks like this:
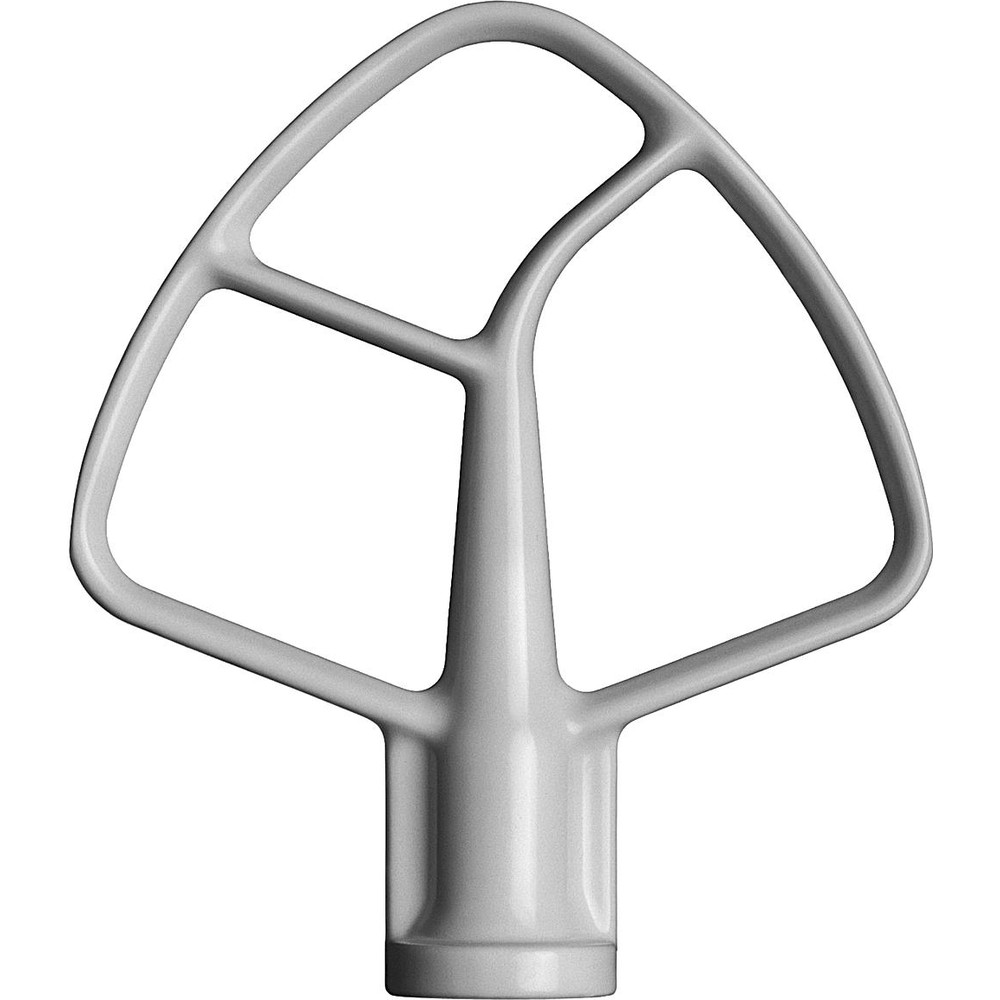
The problem with these paddles is that the sides of the bowl often need scraping part of the way through mixing in order to incorporate the material. KitchenAid makes a version of the paddle with one side made of a pliable material that self scrapes. That’s better but there are other companies that make a fully self scraping version. Below are pictures of both of those:
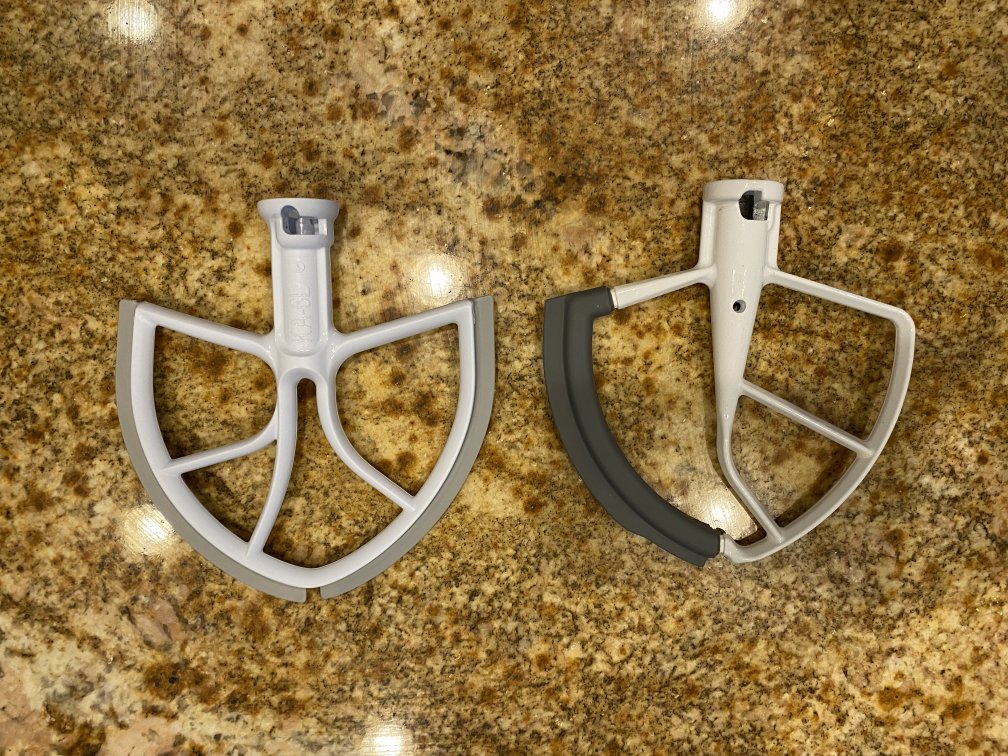
When I made this the first time I used the fully self scraping paddle. While that is my go to paddle for most recipes this seemed to inhibit the gluten development process I was going for. I don’t know if sticking to the side of the bowl is integral to that process or not. I do know that when I went to the half scraping paddle that I got much better results the second time. I therefore would recommend using the original paddle or at most the single scraping paddle when making this.